Jamaicanmodels69
New Member
- Joined
- Apr 17, 2011
- Messages
- 604
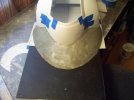
I will say after fitting the fenders that this thing looks
nothing like the filming miniature...but it does resemble
the FM kit iI have been staring at! LOL If someone offers
you a kit of this model buy it.....you probably would blow
your brains out getting the fenders in, in a build like this!
Even if it looks easy in picture it"s not!!!
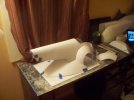
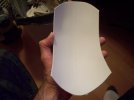
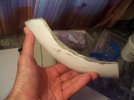
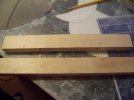
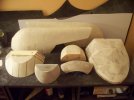
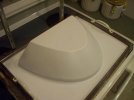
I did my best to hold the formed fenders up against the model,
I even tried to tape them. I knew if they flexed while they were on there
it would turn out to be trouble when I went to fit them. Of course even
with trying to be careful there were areas that fit either to tight or a bit
loose. Also important the model has to be resting level when you do it!
The key was to get a few drops of glue in there to hold it in place a bit,
after i had it level. here it was to tight i allowed the sandpaper to follow
the shape of the fender as a opened up the well.
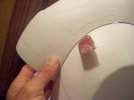
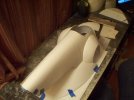
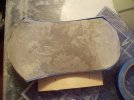
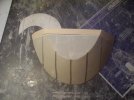
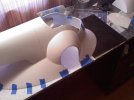
I am not a computer there was no way I was going to get all those little gaps
to be perfect matching the fender to the skirt and the main body.....this is it
before filling.
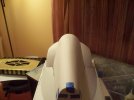
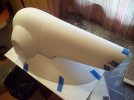
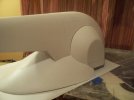
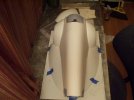
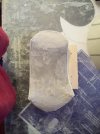
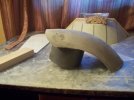
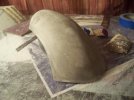
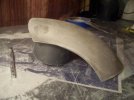
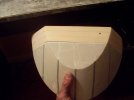
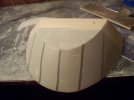
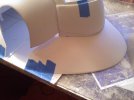
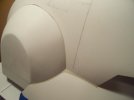
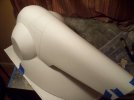
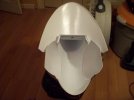
Here are some pics with the clay in there....when it's primed
you will be able to visualize the extension more.
nothing like the filming miniature...but it does resemble
the FM kit iI have been staring at! LOL If someone offers
you a kit of this model buy it.....you probably would blow
your brains out getting the fenders in, in a build like this!
Even if it looks easy in picture it"s not!!!
I did my best to hold the formed fenders up against the model,
I even tried to tape them. I knew if they flexed while they were on there
it would turn out to be trouble when I went to fit them. Of course even
with trying to be careful there were areas that fit either to tight or a bit
loose. Also important the model has to be resting level when you do it!
The key was to get a few drops of glue in there to hold it in place a bit,
after i had it level. here it was to tight i allowed the sandpaper to follow
the shape of the fender as a opened up the well.

I am not a computer there was no way I was going to get all those little gaps
to be perfect matching the fender to the skirt and the main body.....this is it
before filling.


Here are some pics with the clay in there....when it's primed
you will be able to visualize the extension more.


