SWS A-1J Skyraider by Zoukei-Mura, Inc

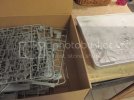
Alright...I got things pretty well cleaned up and ready for primer and paint. I sometimes leave a piece of spru attached for a handle as you can see
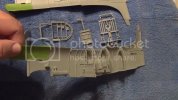
readyforprime_zpsf9ed15f3.jpg.
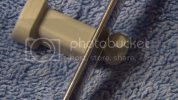
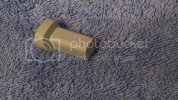
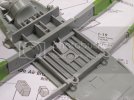
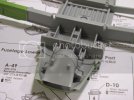
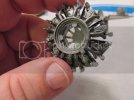
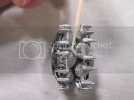
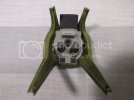
This part is two things together, one will be interior green and the other silver...so I decided to seperate them for paint..wholepart_zpsadfa018b.jpg readytocut_zps208cac4c.jpgonecut_zps1efa15b9.jpg
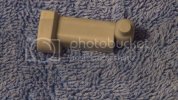
cuttwo_zpsee0bae3b.jpg
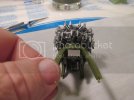
This is how they will come together
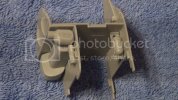
howtheywilllook_zpseb1bc192.jpg
Tonight the primer will go on and my paint should be here in a day or two...hope I'm doing this right, Thanks for looking in
 
Tidy work there Dagger :) ,the inside of the fuselage looks nice ...love the detail .

Chris.
 
Thank you Chris...by the way...the Dauntless...saaweeet!
Here is a video I just figured out how to post. My intent was to show some of the manual on this bird. My humble work area...airbrushing is done in the garage by order of the commandant (wife)
http://youtu.be/bZY6LXStbCk
 
Thanks Dagger ..to kind ;D . I looked at your vid , the manual is the same as the P51 I like the layout in them ..very detailed .The cover on the P51 manual is done the same as the original flight manual for the real one :) ...again ,a nice touch .

Chris.
 
Great work so far, looks like there is some nice detail in this kit. I'll definitely check back on this one.
 
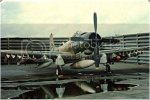
That plane was flown by Byron Hukee in June 1972 on a SAR mission with a very unique weapons load. He has written a book and it is now in Osprey Press's series on Combat Aircraft. The title is USAF and VNAF A-1 Skyraider Units of the Vietnam War. The original art cover is Byron flying this plane, A-1J 142028, on that SAR mission in 1972.
The photo shows it sitting on ready alert at Bien Hoa. I think this is how I'm going to show it. With panel open for machine gun access, a piece of ground support equipment, a pilot figure and maint guys. Maybe a jeep with some stuff in the back.
However, the "official" weapons vehichle as they called it was a small blue pick up!!
Anyway...some primer going on the cockpit bits...will have photos this evening. Hope you enjoy the histoy. I'll add more later.
 
Cool ,nice to see one in camo rather than Grey :)

What photo issues are you having ? ,went to watch the vid but its proccessing ?

Chris.
 
Hi Chris...well I had a poor camera that wouldn't do macro (close ups well). I found a Canon Powershot SK160-IS. It does HD video and 16GB stills. Good macro and its small and fun. I can use it for a lot. Now I have to learn how to edit video.
This computer is old and I'm off today to find a small PC to put by my model table. Seems like everything is a work in progress.
That video should be ready to view now. It took over an hour to load to Youtube. Don't know if it was the size of the file or this antique computer....
I'm putting up some stills today and a couple more videos...
 
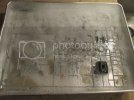
Got an email asking about paint not sticking to the plastic...I wash my kits when I first get them. I put some fairly warm water in a pan with a little dishwashing liquid. That stuff cuts grease well...here is one shot of the process, wash1_zpsb9398b0d.jpg
I put the racks of sprue in the wash and agitate them around a bit wash2_zps4843058f.jpg
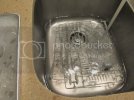
Then they get a good rinse in cool water rinse_zps94f3f455.jpg
Then its a good pat dry with paper towels and we're ready to work!
After handling a model while building I'll wipe it down with an alcohol wipe before painting.
As you can see this kit has a LOT of parts!!
 
Nice vid Micheal ,interior parts are looking good :) ....Keep it coming .

Chris.
 
Sure enough I've gotten the vids out of sequence...will correct that.
When mounting the wing spars I noticed a little thing. The front spar fits really well, BUT something didn't seem right during one of the dry fits so I pushed in a little harder and SNAP! It went all the way down...sparnote1_zps419df123.jpg
The other thing I discovered is with the Oil Cooler...I looked at evey photo from the kit manufacturer...the front of it doesn't sit "down" so to speak...I tried everything shor of rebuilding it...but all the pics in the instructions shows it this way sparnote2_zps45edbd76.jpg so I just went with it.
If you ever build this kit pay attention to these two things....hope this helps...
 
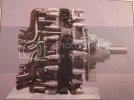
beginning the engine....here is what the finished product is supposed to look like enginephoto_zps27efdc87.jpg

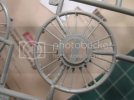
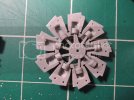
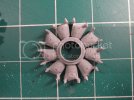
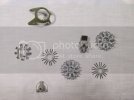
the parts on the sprue...notice how much cutting and trimming is needed on this fragile piece onsprue_zpsa642c99a.jpgcutfromsprue_zps8e9a9064.jpg

will begin putting these bits together and painting them...
 
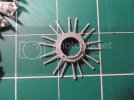
this kit has such great detail...it is a shame that when the cylinders are assembled this great piston detail will be hidden pistondetail_zpsa41ed4a8.jpg

outside of cylinders...enginecutfromsprue_zps46e6c0e9.jpg

Back to trimming, prime and paint...any suggestions would be greatly appreciated! Thanks for looking in!!
 
Looking like some very nice progress.

I was able to fix the links in the pics to make them work
 
Time for one more dry fit...front engine cylinders dryfit1_zps75db3644.jpg

Rear cylinders dryfit2_zps9b875843.jpg

Here is what is supposed to be mounted to join the two cylinders ...part C9...tiny little bugger dryfit5_zps84be9e67.jpg

The motor mount dryfit3_zpsaa8c8f64.jpg
dryfit4_zps0ec0135f.jpg
 
Engine looks fantastic! Pretty amazing OOB engine. Zoukei-Mura really put together some amazing kits.
 
thank you Myke! Glad you're enjoying the M1 by the way!
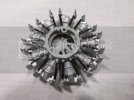
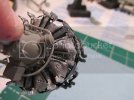
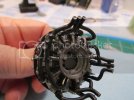
Here is the finished engine...well finished as far as I can before mounting it in the plane...
finishedenginefront_zps6f03c53f.jpg
finishedenginerear_zps332ef812.jpg
Most of the engine will be covered but I needed the practice...I think one engine access panel will be open.
Next is the wings and landing gear...like the cockpit I have to wait for some parts that are ordered!
Any comments / suggestions are welcome!
 

Latest posts

Back
Top