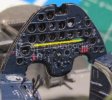
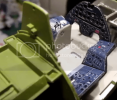
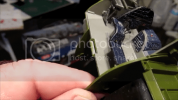
SWS A-1J Skyraider by Zoukei-Mura, Inc

This is a kit I have not heard of before. I am thinking this will have to be on my wish list for a future project. Great work on the plane so far!
 
ive never washed a kit before but after the problems ive had with the last one im going to start and thanks for the tip wash pre build.........and your build id coming on nice bud
 
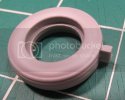
Some of the parts I've been waiting on are here!! Here are the new tires...note the flat side (once the sprue bit is filed off)
tireflatside_zps2482004b.jpg

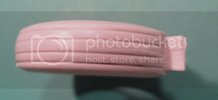
the tire detail is pretty accurate...my new camera even shows some flaw that I couldn't see!
tireedge_zps3e0454f9.jpg

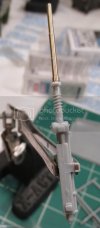
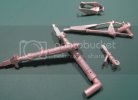
The new metal landing gear looks pretty good
gear1_zpsdff2c451.jpg

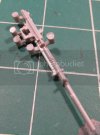
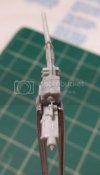
The kit machine guns have pretty good detail
MGdetail_zps0d211747.jpg

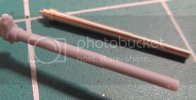
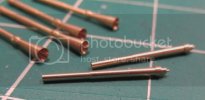
But the barrels are bent
BentBarrel_zps88191faa.jpg

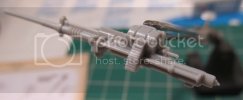
The new metal barrels will do the trick!
MGbarrelmetal_zps5cc19632.jpg

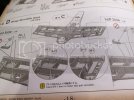
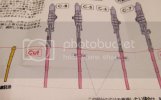
I don't read Japanese so thankfully the instructions are clear!!
MGinstructions_zps81dca3d2.jpg

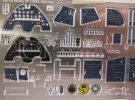
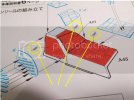
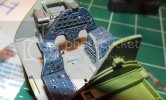
The PE for the cockpit is sweeet
PEcockpit_zps33fe3c34.jpg

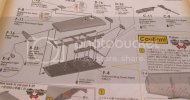
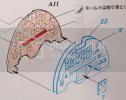
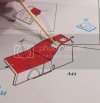
Are these instructions telling me to scrape all the detail from the kit part??
PEinst2_zpse7f71014.jpg

Ok...the stuff is in...now to get after it!
Thanks for taking the time to check in...ideas and suggestions are welcome...
 
You would think they could figure a way to make the tires and NOT have a big chunk of the tree right smack in the middle of the tread AND leave a large flat spot. That would be aggravating.

Are these instructions telling me to scrape all the detail from the kit part??

You know, that is exactly what it looks like it is saying.
 
The flat area of the tire is a nice feature and will look like they bear the weight of the plane...but getting that chunk off will need to be done carefully.
I've never done a PE cockpit before...excited and nervous at the same time.....
 
PE Cockpits aren't bad. Take your time and if there is anything self adhesive, still use a bit of glue on it. Good luck.
 
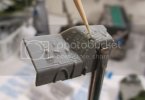
Thanks Myke...remember fellas, no snickering....these instructions indicate removing all this wonderful detail...the yellow stuff is mine...
PE1_zpsde309872.jpg

Here goes...remove the first part
PE2_zpsa41dda99.jpg

Set it in place...ah
PE3_zpsdaea1063.jpg

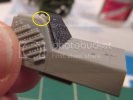
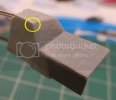
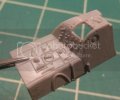
Yep, the detail has to go...the circle shows an area that needs correcting anyway..
PE4_zpsc82778f7.jpg

the dust has settled...just a hint of the lines where the detail was...and the correction came out good
PE5_zpsbe2264fe.jpg

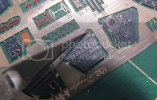
Instructions in the kit call for the top of the side consoles to be black...I outlined here with flat black and then set the PE piece in place...
PE6_zpsa23454b6.jpg

The right side console...This took FOREVER!!!
PE7_zps5adbbacc.jpg
 
Am I posting too many photos?? I have made a couple videos...very crude, but I don't know how to edit video yet. Anyway, back to PE hell. No really, it is just so dadgum tedious! This whole cockpit took me 6 hours. The commandant thinks I've lost my mind.
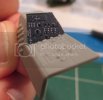
For the left console I have to remove this panel...
PE8_zpse3657e2e.jpg
PE9_zps028784fa.jpg

Here is the hole...it will clean up ok and the PE piece covers it with little slots for control levers
PE10_zps05117720.jpg

Fast forward...here are the main parts of the cockpit in place...those little tiny levers...
PE11_zpsdf18e489.jpg

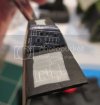
Here you see a slot that had to be cut...there is a sliding chart table of some sort that slides in and out into the
PE "rail" you can see behind....stabbed myself 50 times with the Xacto!!
PE12_zps98bd62d8.jpg

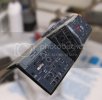
So, the main pieces in place...
PE13_zpsf017c998.png
PE14_zps598e94bc.png
 
Thanks Terry, you're generous and I appreciate it.

I have posted a short, short video http://youtu.be/swo2Kf7exEc
This little camera that I bought is working out great. As you can see the shots are crisp and high def...the videos look great on HD monitors. In fact the closeups that this thing can do really strip you bare to world...it picks up things that you'd never notice...it was the best $150 I've spent. Think I'll do a review in another forum.

Thank all of you for checking this out...it means the world to have your opinions and suggestions!!

Now where is that liquid band aid stuff?......
 
See, told you it'd be easy!

Looks amazing!

Next time, smear some of that Mirco Crystal Clear behind the instrument panel, and when you squeeze it together with the kit part, it pushes it through the holes in the dials and dries clear to make lenses.

Personally I never touch the stuff myself. :)
 
Realy nice work, the upgrade parts look like they were worth the effort.

As for photos, I dont think anyone would complain about posting too many, keep up the good work.
 
thanks for all the comments!! Thank you all for checking on the build.
I'm going to start on the wings. My plan is to leave the top panels for gun access open on the right wing. There are tons of parts wing1_zpse6ce5e66.jpg
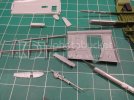
the instructions are very good
wing2_zpsa2a66307.jpg
wing3_zpsd1476333.jpg

So we have to work on the guns
wing4_zps0dd5593a.jpg

I've reported before that I got some metal barrels...the instrutions show where to chop
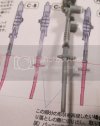
wing5_zpse8b443c0.jpg

The new barrels look great!
wing6_zps99074d87.jpg

To mount them I had to drill into the gun body after chopping of the plastic barrel...you have to make sure to drill into the center of the area where the barrel will go
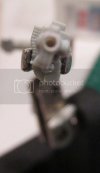
wing7_zpsde4b1cbe.jpg

Then mount the barrel...
wing8_zpsc72d6cab.jpg

Now its time to clean up some sprue marks and seam lines...then paint!
The wings also mean landing gear wells and mounts...the instuctions call for gloss white on them...so I have to get busy! This may take a day or two but and update will be coming showing that progress.

Keep the comments coming...if you see me headed down the wrong path please yell out!!
 
Gun barrels defo a huge improvement. Instructions should have said "chop at the bend."

Keep rocking, awesome progress.
 
This is one of the guns, finished. Handpainted with some "weathering". I'm not sure I like it and am going to strrip it and airbrush it. Any suggestion on colors, etc??
finishedgun_zps153b486e.jpg
 

Latest posts

Back
Top