So since I have been feeling pretty decent today(and cos the GF has been on me that I need to start doing stuff at home rather than just sit or lay... which she is actually right about for once

), I got back to work on the Enterprise.
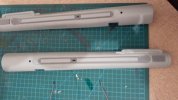
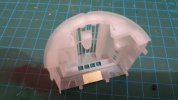
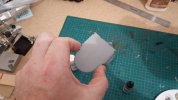
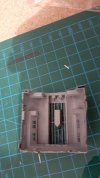
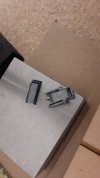
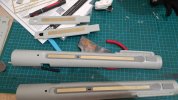
First up is the pylons. I glued the "windows" into the outboard sides and the vents into the inboard sides. Then got to work on the photoetch.
As I filed down the burrs I discovered I was slightly bending the metal on the corners. I then decided to try clamping the pieces in my micro vise with just the edge sticking up so I could file the burrs off.
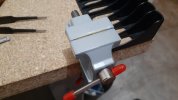
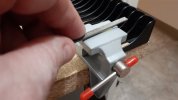
Worked fine, though there are a couple spots that look like the jaws made slight dents in the mesh. Once glued down though neither of us could see em. I did goof the upper two on the starboard pylon vents. The first was slightly off center and I never noticed it and the second shifted when I first glued it down. Fortunately they are pretty dang slight so you really gotta look at them close to see it.
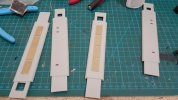
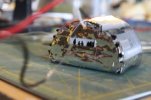
Btw, what I did was to use the tip of my CA bottle to smear a small drop or two of glue on the mesh, then quickly run a paper towel over it as if I were forcing air bubbles from decals. I had a couple goofs that were easily fixed but it went far better than I thought. I am worried that there could be spots where the glue filled in the mesh though, mainly with the nacelle grills.
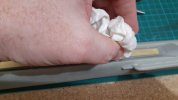
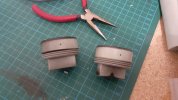
Speaking of, I had to file the burrs off them holding them in hand cos I was worried I might crease them if I filed them with the micro vise due to their length. Then I used my mini pliers to bend the edges with fold lines.
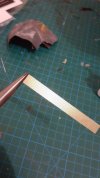
Then I used the same process to glue them down. As said, I am somewhat worried that the glue may have filled in the holes. They SEEM ok though.
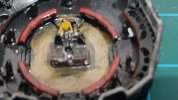
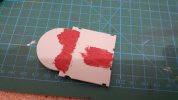
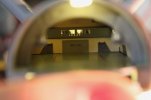
Next up is to see if the shuttlebay photoetch is compatible with the 3d printed one. I may not even need to that photoetch as the printed part is more accurate, but we shall see.
EDIT: GET THE LIGHT KIT WEDNESDAY!!!

