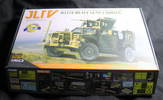
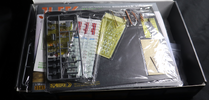
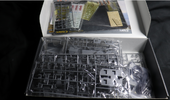
The second part to my diorama I am going to buy another model of the same scale as the Chinook I'm going to be building.

New total is $349.oo. THEN my psychiatrist told me not to try giving my camouflage pattern to the military which ends being fine because I don't underastand how the air intake fits on and I need a video of that procedure or something. I had to tint the windows black because I did something wrong with the dashboard and no matter which way I turned it the darn thing wouldn't fit so now the windows are black. This turned out not be worth my time because I don't have the skills to build the kit.

It's an I Love kit kit. https://www.scalehobbyist.com/catag...rrier-general-purpose/ILK00063536/product.php
Take it slow. Fit first before gluing. Double check your parts number. Some look identical but used for opposite sides or elsewhere.

Relax, read your instruction guide carefully, make sure you have the right part before gluing. It takes some discipline. Once you learn that, it'll be easier to build.
 
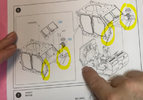
THey kicked me out... Okay I guess not seeing as how I can post here. my other posts are gone. Now that I twisted C5 in step 16 around and watched a video of someone doing the same thing I was doing I understand that the model isn't the problem and it is MY accident.

EDIT:: I'm still not completely sure I got it correct...
 
Last edited:
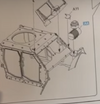
God Help ME!!! I've bitten off more than I can chew with these two models.

Going slow is really the only solution. Maybe I'm not made out for this...
 
Take it slow. Fit first before gluing. Double check your parts number. Some look identical but used for opposite sides or elsewhere.

Relax, read your instruction guide carefully, make sure you have the right part before gluing. It takes some discipline. Once you learn that, it'll be easier to build.
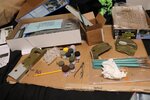
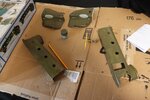
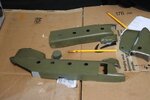
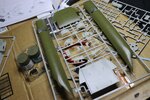
I cut the wrong tabs off the JLTV and can't get the fenders in step 16 the correct orientation... That's okay... I got figurines (Pilots) and helicopter paint. (H304) and started trying to be productive with the Chinook. Of course the first coat stinks... If you look you can see just how BIG the Chinook really is compared to a yellow #2 pencil

FirstCOAT.jpg
 
I put a second coat of paint on the smaller parts of the Fuselage and finished the first coat on the larger parts. I really like this green (H304) and I think it is coming out well. I used about half of my paint and I'm worried that I might have to order another bottle. Check out how large this fuselage is compared to a pencil that I only sharpened once. My Canon Rebel 7i takes pictures that are really close to the neked eye on my
laptop... the paint is still wet in this picture and the H304 paint dries a shade or tow darker once it is dry.

EDIT::The cap on the bottle is actually perfectly the correct color even.

EDIT:: I painted my headless pilot in Olive Drab faded and you can't tell the difference between the pilot and the fuselage.

EDIT:: A picture showing the fuselage together
pencilsize.jpg

scalenumber2.jpg
 
Last edited:
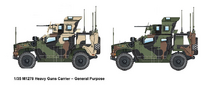
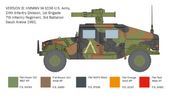
My JLTV camouflage that I modified before my Therapist told me NOT to take the design to the Department of Defense. The one with the tan is my design

M1278TANComparison.002.png
 

Latest posts

Back
Top