Steve Jones SMS
Active Member
- Joined
- Oct 9, 2024
- Messages
- 63
Hi everyone
For those of you who follow my work you will know that I try and do one sci fi build each year. Last Christmas I recieved my first ever Warhammer kit and immediately fell in luv withWarhammer tanks. This kit goes together beautifully with litlle flas or seam lines. The only niggle is that most of the components come in two halfs. The join lines have to be filled and sanded which takes most of the time. As with all kits there is room for improvement so lets see how we get on
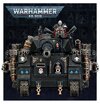
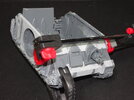
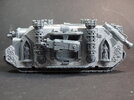
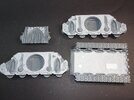
The main body of the tank comes in five parts so lets start with the first four. Nicely detailed with statues all around in a Gothic stylee embellished with skulls and scroll designs
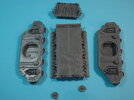
The tracks are moulded onto the main base part with only a handful of sections that are separately added further up. Nicely detailed but the underneath lacked definition. This was remedied with the end of some sharp tweezers and Tamiya extra thin to take off the excess plastic
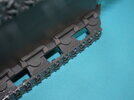
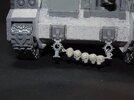
Then using RB Toolz I made some 0.8mm pewter rivets to add the missing pin detailing to the tracks on both sides
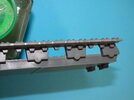
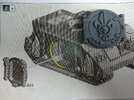
I fancied adding some engine plates and escape hatch to the underneath. This was done with thin plasticard and 0.5mm pewter rivets.
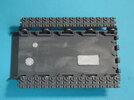
I added mud effect and cast texturing to the armour using Mr Surfacer 500. Applied with a stippling effect and then sanded down once dry. A lot of the detail got covered so this had to be gently sanded/scraped off
For those of you who follow my work you will know that I try and do one sci fi build each year. Last Christmas I recieved my first ever Warhammer kit and immediately fell in luv withWarhammer tanks. This kit goes together beautifully with litlle flas or seam lines. The only niggle is that most of the components come in two halfs. The join lines have to be filled and sanded which takes most of the time. As with all kits there is room for improvement so lets see how we get on

The main body of the tank comes in five parts so lets start with the first four. Nicely detailed with statues all around in a Gothic stylee embellished with skulls and scroll designs

The tracks are moulded onto the main base part with only a handful of sections that are separately added further up. Nicely detailed but the underneath lacked definition. This was remedied with the end of some sharp tweezers and Tamiya extra thin to take off the excess plastic

Then using RB Toolz I made some 0.8mm pewter rivets to add the missing pin detailing to the tracks on both sides

I fancied adding some engine plates and escape hatch to the underneath. This was done with thin plasticard and 0.5mm pewter rivets.

I added mud effect and cast texturing to the armour using Mr Surfacer 500. Applied with a stippling effect and then sanded down once dry. A lot of the detail got covered so this had to be gently sanded/scraped off


