banistersmind
Active Member
- Joined
- May 28, 2024
- Messages
- 57
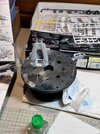
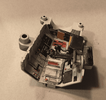
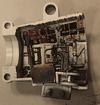
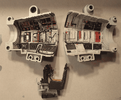
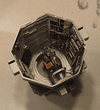
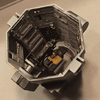
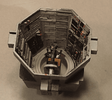
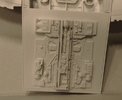
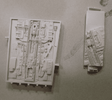
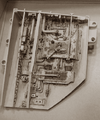
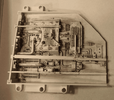
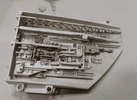
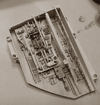
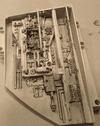
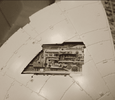
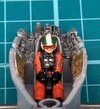
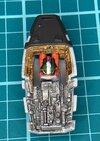
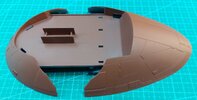
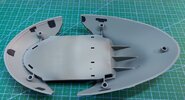
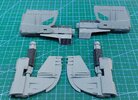
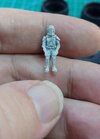
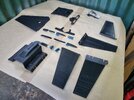
Some undercoating pictures. I undercoated in black so I could bring out some shadow when I eventually top coat. I used a Vallejo black primer and I'll topcoat with a Tamiya Insignia White (AS-20) which seems to be the colour of choice for a lot of Star Wars craft.
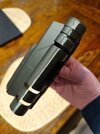
The undercoating process helps me to identify areas on the model that need further sanding - especially the main body portion. These MPC kits were notorious for their I'll fitting parts but with a bit of work and some application of putty later, I should be able to make it look pretty flush.
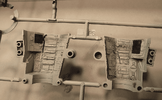
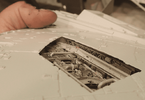
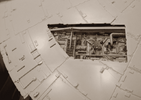
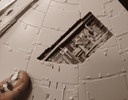
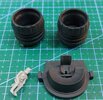
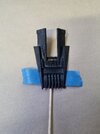
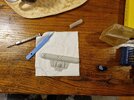
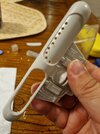
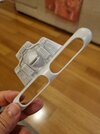
The other thing I want to do - a dream of mine as part of this build - is to install lighting for the engines. So, I've gone ahead and *gently* scribed out the exhaust ports with a scalpel blade and a hand drill. It was actually easier than I thought to achieve. It just needed a lot of patience and about 4 cups of coffee. I intend inserting some exhaust ports courtesy of Shapeways. I know these aren't film accurate but I never liked the plain-ness of the original engines. I intend to do a few things differently with my build to individualise it to my taste.


