Star Wars Theme Group Build

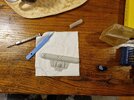
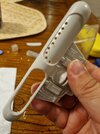
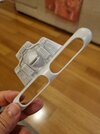
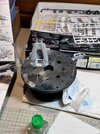
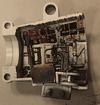
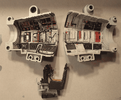
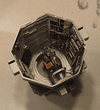
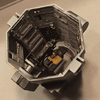
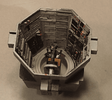
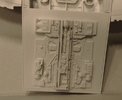
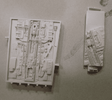
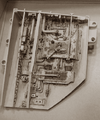
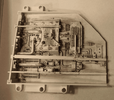
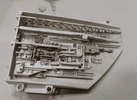
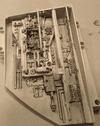
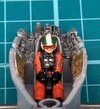
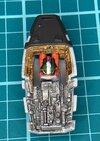
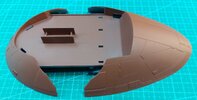
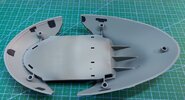
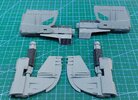
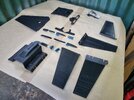
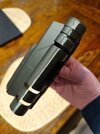
Some undercoating pictures. I undercoated in black so I could bring out some shadow when I eventually top coat. I used a Vallejo black primer and I'll topcoat with a Tamiya Insignia White (AS-20) which seems to be the colour of choice for a lot of Star Wars craft.

The undercoating process helps me to identify areas on the model that need further sanding - especially the main body portion. These MPC kits were notorious for their I'll fitting parts but with a bit of work and some application of putty later, I should be able to make it look pretty flush.

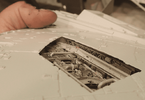
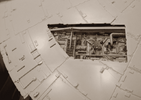
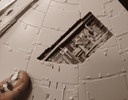
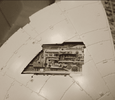
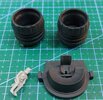
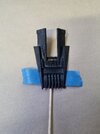
The other thing I want to do - a dream of mine as part of this build - is to install lighting for the engines. So, I've gone ahead and *gently* scribed out the exhaust ports with a scalpel blade and a hand drill. It was actually easier than I thought to achieve. It just needed a lot of patience and about 4 cups of coffee. I intend inserting some exhaust ports courtesy of Shapeways. I know these aren't film accurate but I never liked the plain-ness of the original engines. I intend to do a few things differently with my build to individualise it to my taste.
1000019041.jpg

1000019040.jpg

1000018902.jpg

1000018659.jpg

1000018662.jpg

1000018664.jpg
 
Some undercoating pictures. I undercoated in black so I could bring out some shadow when I eventually top coat. I used a Vallejo black primer and I'll topcoat with a Tamiya Insignia White (AS-20) which seems to be the colour of choice for a lot of Star Wars craft.

The undercoating process helps me to identify areas on the model that need further sanding - especially the main body portion. These MPC kits were notorious for their I'll fitting parts but with a bit of work and some application of putty later, I should be able to make it look pretty flush.

The other thing I want to do - a dream of mine as part of this build - is to install lighting for the engines. So, I've gone ahead and *gently* scribed out the exhaust ports with a scalpel blade and a hand drill. It was actually easier than I thought to achieve. It just needed a lot of patience and about 4 cups of coffee. I intend inserting some exhaust ports courtesy of Shapeways. I know these aren't film accurate but I never liked the plain-ness of the original engines. I intend to do a few things differently with my build to individualise it to my taste.
View attachment 119888

View attachment 119887

View attachment 119886

View attachment 119889

View attachment 119890

View attachment 119891
Looking good!
 
These all look great. I made a start as well. Another Y-Wing!View attachment 119892

Ah yes, the dreaded Bandai mold in color is sometimes more of a pain than a help. I built 4 of the Y-Wings so far and each one I spent so much time sanding and filling the seams around that part so it didn't like a separate piece with panel lines.

That is the one downside to an otherwise amazing kit
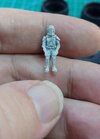
So far the Bandai kit has been a good fit. Although I have spent the last couple of days painting the 1/72 pilot.
I am going with the episode IV theme. (Orange jumpsuit)
 
Last edited:
Glad to see all these projects!

Also a big thanks for starting this group build. It really gave me a fresh start on a project I had set aside when I went into overload trying to get too fancy with things. I had planned on adding more lighting than the kit that was included with it, and also was getting crazy ideas about adding more of an interior in the cockpit tube etc... Plus I could not decide gears up or down. So I shelved it thinking I would not get it perfect

However as time has gone by I really want to get this built and on display, even if I skip all the bells and whistles

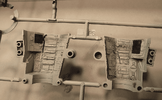
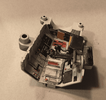
So back at it, starting with the gun turret wells. The detail in this is just incredible.
I had a hard time finding definitive shots of the panels, and also trying to match up what I did find with the Bandai details.
1720845285207.png
1720845355487.png

I used light coats of Tamiya AS-20 from the can over the black plastic, but kind of left a bit of the black showing through as a pre-shading type of thing. Then picked out the details by hand

Since I was excited to start back on this, I kind of just dove in at first without a plan, and I gave it my best approximating the look, and it is not perfect, but considering how little you will actually see once it is all buttoned up I am not going to stress over it

This one I will use for the bottom anyway, and try to be a little neater/cleaner with the top one as far as keeping lines straight etc...

1720845680070.png
1720845764610.png
1720845731920.png
1720845823900.png
1720845924501.png
1720845973847.png

1720845894065.png
 
Last edited:
and speaking of Y-Wings, you should recognize these parts that are centered with the Tamiya 1/35 8Rad on the side of the neck if you built one

they used that subassembly in several places on the Falcon. Again, the detail an accuracy Bandai put into this is stunning

1720846284097.png

and here

1720846523608.png
 
And last thing for this evening, the two underside maintenance bays

Sprayed with Tamiya AS-20 straight from the can, no primer since I wanted to keep the detail as crisp as possible and not cover up with too many paint layers

Then used thin washes of black and brown oil paints and some Vallejo black pigment powder in spots to get that grimy used look

1720846965888.png
1720847028984.png
1720846820160.png
1720846904190.png
1720847305502.png
1720847079653.png
1720847417565.png
1720847186298.png
1720847497412.png
 

Latest posts

Back
Top