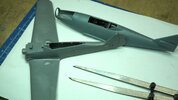
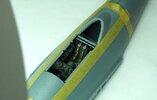
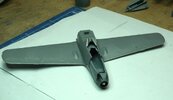
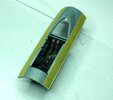
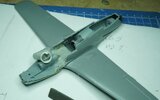
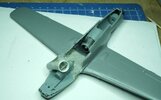
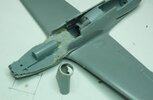
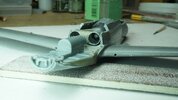
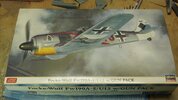
1/48 Hobbygawa Fw293A-2 / U1
- Thread starter urumomo
- Start date
Davey
New Member
- Joined
- Oct 9, 2022
- Messages
- 16
Can't wait to see how this turns out.
urumomo
Well-Known Member
- Joined
- Mar 18, 2013
- Messages
- 7,754
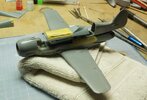
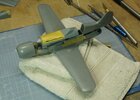
Placing the cockpit farther aft allows for , conservatively , a 125 gallon / 473 L fuel tank
According to this --> https://www.deutsches-museum.de/en/flugwerft-schleissheim/ausstellung/flugantriebe-und-raketen/jumo-004#:~:text=Fuel consumption: 1273 kg/h
that JUMO 004 burns 1273 Kg/hr
Using 830 grams/ L for the fuel mass gives 378.4 Kg of fuel
( fuel density range is 815 to 845 g/L , from --> https://ww2-history.fandom.com/wiki/Junkers_Jumo_004_Engine )
About 19 minutes of the engine doing engine stuff .
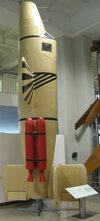
So a generous compliment of JATO bottles on takeoff it is then ..


urumomo
Well-Known Member
- Joined
- Mar 18, 2013
- Messages
- 7,754
scalebuilderchad
Active Member
- Joined
- Aug 31, 2023
- Messages
- 191
This is so cool!!!
urumomo
Well-Known Member
- Joined
- Mar 18, 2013
- Messages
- 7,754
Haha , hopefully .
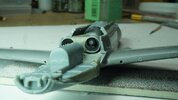
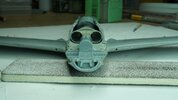
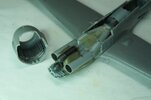
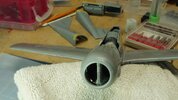
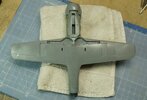
I had the air intake portion just about done , what can be done prior to installing the cowling , but I kept accidently sanding a radius into the vertical nose ,
so I embedded a 1.15 mm SS rod there . -- makes it 55 mm thick @ 1:1
Should have that primed and top coated with airframe aluminum tomorrow .
Then finish it off thru that 16 mm opening .
Should be interesting .
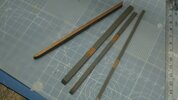
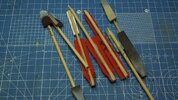
I hot glued bits of sanding sponge to sticks to smooth out the transition into the pipe ,

scalebuilderchad
Active Member
- Joined
- Aug 31, 2023
- Messages
- 191
I just started doing something like this recently. I was having trouble sanding in tight spaces so I started gluing sandpaper to the end of plastic sprues.Haha , hopefully .
I had the air intake portion just about done , what can be done prior to installing the cowling , but I kept accidently sanding a radius into the vertical nose ,
so I embedded a 1.15 mm SS rod there . -- makes it 55 mm thick @ 1:1
Should have that primed and top coated with airframe aluminum tomorrow .
Then finish it off thru that 16 mm opening .
Should be interesting .
I hot glued bits of sanding sponge to sticks to smooth out the transition into the pipe ,
View attachment 132283
urumomo
Well-Known Member
- Joined
- Mar 18, 2013
- Messages
- 7,754
I'll probably need to make something up for working the inside thru that tiny opening .
If Santa would return my calls , you'd have an ultrasonic knife in his sleigh
but
alas , you will need to buy it your own self .
Get one before they stop making them , at least .
If Santa would return my calls , you'd have an ultrasonic knife in his sleigh
but
alas , you will need to buy it your own self .
Get one before they stop making them , at least .
urumomo
Well-Known Member
- Joined
- Mar 18, 2013
- Messages
- 7,754
Haven't felt like editing and uploading pix for whatever reason .
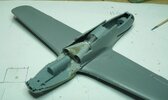
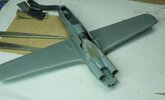
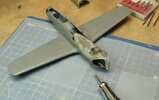
I started into this thing months ago but realized I needed to finish out the cockpit before I could start playing with components ,
so , it stalled out since I wasn't in the mood for the micro-work .
Same reason that BV 155 isn't complete -- never been in the mood to fabricate the antenna wire with the tiny spring and attachment hardware , plus the tail and fuselage anchor points .
That one is 1/72 , too . , so even more fun .
That Hobby Beast 262 kit has all kinds of internal details that you would never see when it's all together .
They put a lot of effort into that thing .
BTW ,
MERRY CHRISTMAS !!!
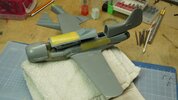
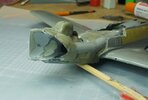
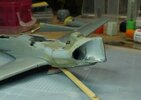
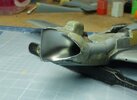
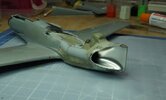
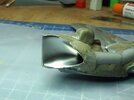
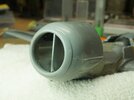
The cowling is ready to be permanently installed and then the remainder of the intake finished out .
It really needs some panel lines in there but I don't think I'm going that far with it .
I might still do it .
maybe .
possibly ?
Stynylrez primer and Alclad airframe aluminum ( it will get dulled down in the end ,
Similar threads
- Replies
- 1
- Views
- 305

