1/144th Prometheus scratch build
- Thread starter The Nylon Gag
- Start date
The Nylon Gag
New Member
- Joined
- Nov 14, 2011
- Messages
- 829
Thank you guys for the positive feedback, nice to have you all along for the ride,
Lot's to get to so hold on tight
Started to frame in the top section
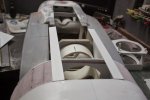
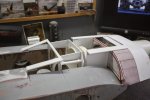
Cut out profile of the top intakes
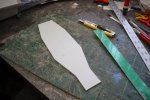
More frame work
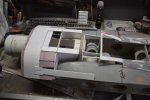
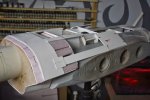
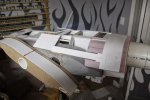
Cut out the back of the escape pod profile
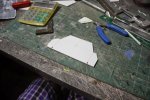
And in position
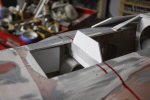
Next was the outer skin of the main body
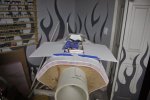
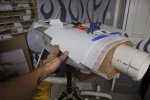
Glued and taped
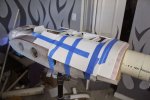
Profile cleaned
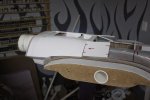
Moved on to the final nose section on the underside
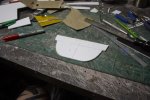
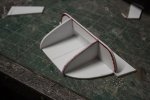
Foam
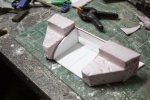
Shaped
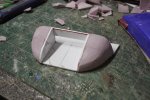
Piece of 1mm styrene sheet
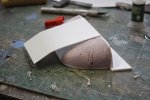
Heated with just friction from my hand and bent and glued to the form then clamped
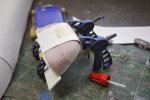
A coat of epoxy resin
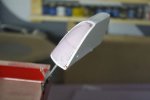
And for the main nose
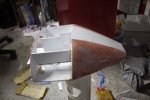
And the angle on the leading edge of the main body
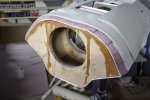
Filled in another small detail surface
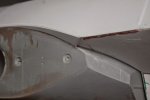
Then moved on to the back section and the escape pod detail
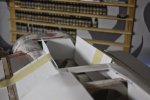
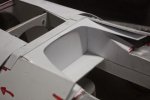
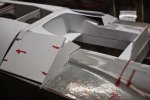
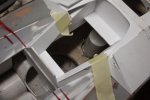
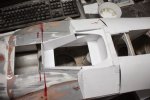
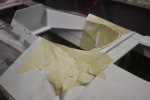
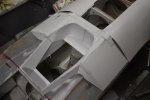
Made the mid point for the escape pod, i'm still not happy with this yet
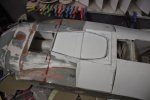
Slapped a bit off bondo on it
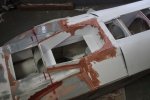
Gave the nose a final sand with 400
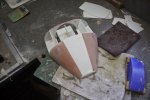
Then..............Mmmmmmmmmmmmmmm Primer
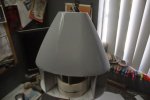
Did the little underside bit as well
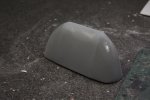
Top section sanded and primered
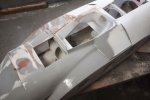
Both sides sanded back ready for another coat
But i've run out of primer, so it'll have to wait
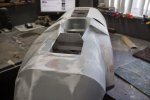
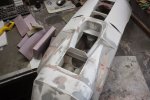
Moved forward to the front section
Covered with 1mm styrene sheet
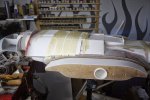
Tape off
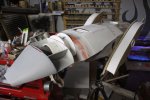
And cleaned up
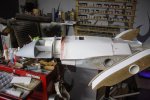
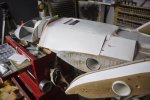
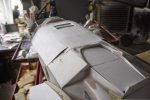
OK you can breath now, thats it
Got to get another tin of primer, then..........
Well you'll just have to wait and see
Till next time
Gag
OUT
Lot's to get to so hold on tight
Started to frame in the top section


Cut out profile of the top intakes

More frame work


Cut out the back of the escape pod profile

And in position

Next was the outer skin of the main body


Glued and taped

Profile cleaned

Moved on to the final nose section on the underside


Foam

Shaped

Piece of 1mm styrene sheet

Heated with just friction from my hand and bent and glued to the form then clamped

A coat of epoxy resin

And for the main nose

And the angle on the leading edge of the main body

Filled in another small detail surface

Then moved on to the back section and the escape pod detail


Made the mid point for the escape pod, i'm still not happy with this yet

Slapped a bit off bondo on it

Gave the nose a final sand with 400

Then..............Mmmmmmmmmmmmmmm Primer

Did the little underside bit as well

Top section sanded and primered

Both sides sanded back ready for another coat
But i've run out of primer, so it'll have to wait


Moved forward to the front section
Covered with 1mm styrene sheet

Tape off

And cleaned up


OK you can breath now, thats it
Got to get another tin of primer, then..........
Well you'll just have to wait and see
Till next time
Gag
OUT
Klaus not Santa
Member
- Joined
- May 15, 2013
- Messages
- 281
Man!
Gag, this baby is progressing soooo nicely.
all these smooth lines, yet so many details - it is a pleasure to watch this evolve.
Cheers
Klaus
Gag, this baby is progressing soooo nicely.
all these smooth lines, yet so many details - it is a pleasure to watch this evolve.
Cheers
Klaus
The Nylon Gag
New Member
- Joined
- Nov 14, 2011
- Messages
- 829
Thanks for the support guys, much appreciated
Had a barney with the misses, in the dog house.
So lots of bench time lately ;D
On with the show
Stuck some foam to the escape pod piece
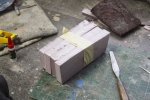
Glued the 'neck' to the 'head'
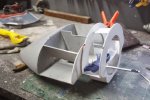
Skinned the neck and back of the head section
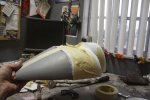
Shaped the bottom section of the escape pod foam
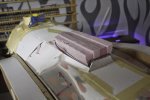
Reduced the thickness
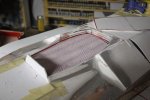
Glued on the central separator
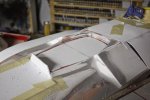
Then glued on an oversized top piece
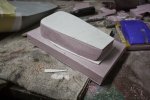
Shaped the top piece
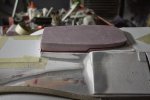
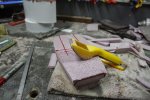
Sanded and in position
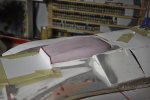
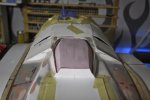
Bondo on the head
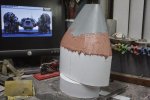
During clean up
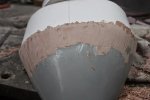
Finished and in position
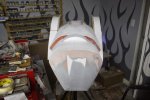
So, i do believe we are very close to primer time, but lets take a look at where we are so far
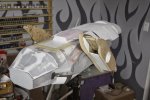
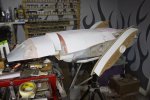
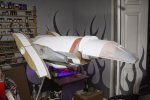
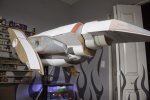
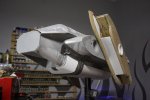
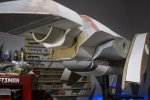
PRIMER, PRIMER, PRIMER
But,....................that will have to be next time
Cheers
Gag
Had a barney with the misses, in the dog house.
So lots of bench time lately ;D
On with the show
Stuck some foam to the escape pod piece

Glued the 'neck' to the 'head'

Skinned the neck and back of the head section

Shaped the bottom section of the escape pod foam

Reduced the thickness

Glued on the central separator

Then glued on an oversized top piece

Shaped the top piece


Sanded and in position


Bondo on the head

During clean up

Finished and in position

So, i do believe we are very close to primer time, but lets take a look at where we are so far


PRIMER, PRIMER, PRIMER
But,....................that will have to be next time
Cheers
Gag
peza
Member
- Joined
- Jun 27, 2012
- Messages
- 612
Eh up gagstar,lol...you tease!i was hoping for a primer moment..
don't worry about your Doris...women...they can f@ck ya but they can't make you pregnant...
hope things sort themselves out!
p.s don't make up with her yet get ya primer update done first; ;D
don't worry about your Doris...women...they can f@ck ya but they can't make you pregnant...
hope things sort themselves out!
p.s don't make up with her yet get ya primer update done first; ;D
The Nylon Gag
New Member
- Joined
- Nov 14, 2011
- Messages
- 829
Afternoon Everyone,
Thanks for stopping by guys
Thank you for your continued support 'Q master'
Cheers
Gag
Aye Up Peeeeeeeezdude,
The Doris is wonderful, but, like us all, she has her moments. obviously its never me ;D
As for Primer, I've decided to hold off a bit,..........I know, I know but thinking about it (steady) I think the next stage, which would be panneling and details, might attach better to fresh styrene.
We shall primer soon enough my friend
Cheersmuchly
Gag
Thank you 'Gman'
Like Q master you are always along for the ride, appreciate the support my friend
Wishing i had your electronic brains about now mate
Lighting isn't far off
Scary stuff
Gag
Thanks Kypsterman,
Also a frequent visitor, thank you sir.
Thank you young man, i'd hate to see you have to go cold turkey ;D
Time to cook up my friend
Gag
Servus Klausie,
Danke mate,
Stay warm over there buddy
Gagster
Welcome my friends,
Not much accomplished the last few days because of a very worrying pain in my right wrist.
It feels like bones are grating on bones, very painful, my hand can, at times, be useless.
Not good but i have an appointment to see a specialist tomorrow afternoon.
Enough negitivity
Would you like some cheese with that wine
the show MUST go on
To the Mancave
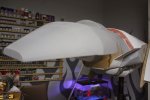
A wonderful out of focus shot of the head with primer
Decided to cut an access hole in the underside assembly
Marked out
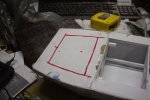
And cut out with the dremel
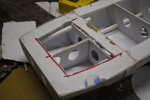
Faced the bulkhead with 1mm styrene sheet
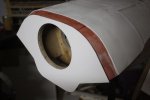
Have run out of bondo spot putty so used a bit of squadron i had lying around, mmmm, not so good either
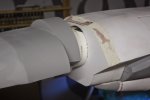
This whole join line has to be filled eventually but that will happen later
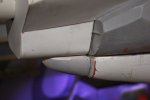
So i decided that it was time to clean the cave ready for final skinning and details,
So we went from this....
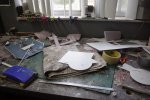
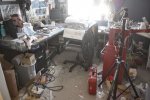
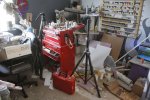
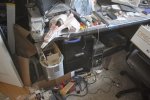
To this.....
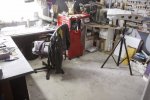
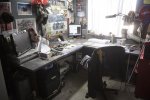
The next stage of the build will be to make the engine plugs, for some parts silicon molds will be made and multiples cast. Now some people would make these on a 3D printer or machine them on a lathe and mill maybe but i don't have those things on hand.
I do have access to a machine shop but its called Work, and they don't like you making spaceships when you should be doing their work.
I am trying to make these in such a way so maybe i can make a few kits of just the engines to sell at a later date, but i make no promises. But if anyone can offer up any tips to make this process easier for me as this will be my first time casting and molding then that would be great and much appreciated.
Suggestions on a good silicon and plastic would be a start. I was going to go with smooth-on, i need a silicon that doesn't need degassing but is strong enough to stand several castings.
So the first thing i did was to make a scale drawing of the engine parts, everything scaled from Digitawn's computer renderings
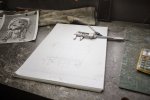
4" diameter tubing from the local DIY store cut on my mitre saw in the garage
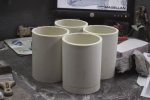
Marked
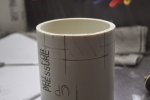
Cut
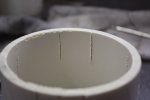
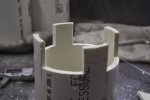
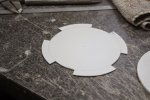
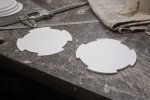
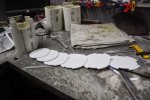
Then started to mark and cut out the different layers for my thruster nozzle from 1/8" and 0.040" styrene
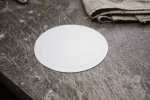
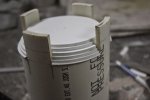
Cut and faced off 6" diameter PVC pipe into 3/4" wide rings
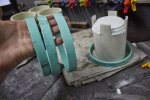
Marked and cut the layers for the top of the engine nozzle from 1/8" styrene sheet
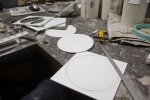
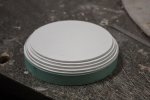
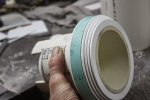
Made a hole through the middle and glued everything together
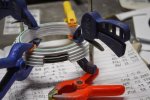
Was going to use one of these cups for the inside but after further analisis i think its too short so will get the taller ones next time i'm at the store
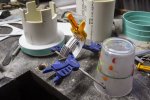
Started to shape the bottom nozzle first using the bastard half round file
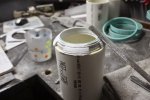
Cleaned with a salon board
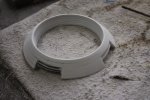
Tapered the end of the tube
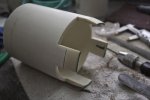
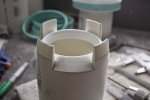
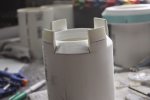
And thats it so far
Stay tuned for more updates
Gagsterman
Thanks for stopping by guys
Quaralane said:Magnificent, Gag.
Magnificent
Thank you for your continued support 'Q master'
Cheers
Gag
peza said:Eh up gagstar,lol...you tease!i was hoping for a primer moment..
don't worry about your Doris...women...they can f@ck ya but they can't make you pregnant...
hope things sort themselves out!
p.s don't make up with her yet get ya primer update done first; ;D
Aye Up Peeeeeeeezdude,
The Doris is wonderful, but, like us all, she has her moments. obviously its never me ;D
As for Primer, I've decided to hold off a bit,..........I know, I know but thinking about it (steady) I think the next stage, which would be panneling and details, might attach better to fresh styrene.
We shall primer soon enough my friend
Cheersmuchly
Gag
Grendels said:Looks really good.
Thank you 'Gman'
Like Q master you are always along for the ride, appreciate the support my friend
Wishing i had your electronic brains about now mate
Lighting isn't far off
Scary stuff
Gag
Dark Kyp said:this is really impressiv! Can't wait to see some more!
Thanks Kypsterman,
Also a frequent visitor, thank you sir.
Belugawrx said:Thanks for the fix Gag..
Great things happening here
Cheers
Thank you young man, i'd hate to see you have to go cold turkey ;D
Time to cook up my friend
Gag
Klaus said:Man!
Gag, this baby is progressing soooo nicely.
all these smooth lines, yet so many details - it is a pleasure to watch this evolve.
Cheers
Klaus
Servus Klausie,
Danke mate,
Stay warm over there buddy
Gagster
Welcome my friends,
Not much accomplished the last few days because of a very worrying pain in my right wrist.
It feels like bones are grating on bones, very painful, my hand can, at times, be useless.
Not good but i have an appointment to see a specialist tomorrow afternoon.
Enough negitivity
Would you like some cheese with that wine
the show MUST go on
To the Mancave
A wonderful out of focus shot of the head with primer

Decided to cut an access hole in the underside assembly
Marked out

And cut out with the dremel

Faced the bulkhead with 1mm styrene sheet

Have run out of bondo spot putty so used a bit of squadron i had lying around, mmmm, not so good either

This whole join line has to be filled eventually but that will happen later

So i decided that it was time to clean the cave ready for final skinning and details,
So we went from this....


To this.....


The next stage of the build will be to make the engine plugs, for some parts silicon molds will be made and multiples cast. Now some people would make these on a 3D printer or machine them on a lathe and mill maybe but i don't have those things on hand.
I do have access to a machine shop but its called Work, and they don't like you making spaceships when you should be doing their work.
I am trying to make these in such a way so maybe i can make a few kits of just the engines to sell at a later date, but i make no promises. But if anyone can offer up any tips to make this process easier for me as this will be my first time casting and molding then that would be great and much appreciated.
Suggestions on a good silicon and plastic would be a start. I was going to go with smooth-on, i need a silicon that doesn't need degassing but is strong enough to stand several castings.
So the first thing i did was to make a scale drawing of the engine parts, everything scaled from Digitawn's computer renderings

4" diameter tubing from the local DIY store cut on my mitre saw in the garage

Marked

Cut


Then started to mark and cut out the different layers for my thruster nozzle from 1/8" and 0.040" styrene


Cut and faced off 6" diameter PVC pipe into 3/4" wide rings

Marked and cut the layers for the top of the engine nozzle from 1/8" styrene sheet


Made a hole through the middle and glued everything together

Was going to use one of these cups for the inside but after further analisis i think its too short so will get the taller ones next time i'm at the store

Started to shape the bottom nozzle first using the bastard half round file

Cleaned with a salon board

Tapered the end of the tube


And thats it so far
Stay tuned for more updates
Gagsterman
nicholassagan
sippin on gin + juice
- Joined
- Dec 28, 2011
- Messages
- 2,013
Dear lord.
The Nylon Gag
New Member
- Joined
- Nov 14, 2011
- Messages
- 829
Evenin All,
Thanks for stopping by everyone
Lot's to get on with so less chit chat
Glued the middle section of the engine together ready for shaping
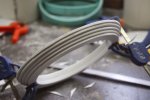
Shaping on my little 1" belt sander
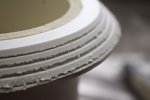
Then on with the bastard half round
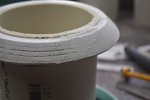
Finished with a fine sanding board
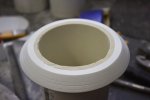
Filled and ready for sanding later
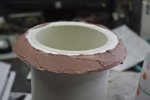
Then it was on to the central 4" tube, marked one out.
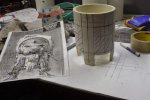
Rough cut with a disc in my dremel
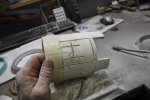
Dry fit with everything
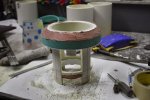
Then the center piece was sanded
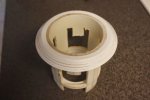
Ready form primer, mmmmmmmmmmmmm
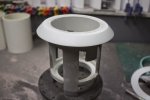
Also filled sanded and primered the nozzle section
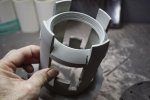
Then i finished the internal support by hand with files
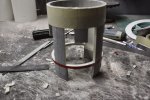
Then i did a second one
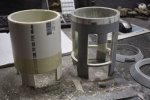
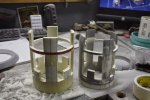
3 and 4 were together
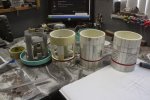
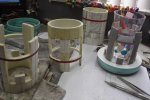
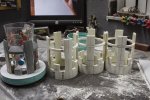
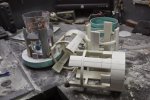
Now i'm concentrating on the inside structure of each engine.
So stay tuned
Gag
Thanks for stopping by everyone
Lot's to get on with so less chit chat
Glued the middle section of the engine together ready for shaping

Shaping on my little 1" belt sander

Then on with the bastard half round

Finished with a fine sanding board

Filled and ready for sanding later

Then it was on to the central 4" tube, marked one out.

Rough cut with a disc in my dremel

Dry fit with everything

Then the center piece was sanded

Ready form primer, mmmmmmmmmmmmm

Also filled sanded and primered the nozzle section

Then i finished the internal support by hand with files

Then i did a second one


3 and 4 were together


Now i'm concentrating on the inside structure of each engine.
So stay tuned
Gag
The Nylon Gag
New Member
- Joined
- Nov 14, 2011
- Messages
- 829
Thank you so much Boss man,
Hearing from you always means i'm doing something right. Thank you.
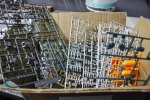
This is a post to give a big shout out to the power of the forum and my mate MikeJ over at TheRPF
Yet again he has so very generously donated a stash of greeblies
Mikey, i said it once and i'll say it again
The Man, the absolute Man
Seem's legit
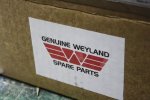
I looks to me like if you left these bits off you wouldn't have much off a kit left
Stuffed
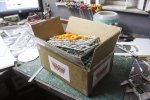
Can't thank you enough mate
Toe
Hearing from you always means i'm doing something right. Thank you.
This is a post to give a big shout out to the power of the forum and my mate MikeJ over at TheRPF
Yet again he has so very generously donated a stash of greeblies
Mikey, i said it once and i'll say it again
The Man, the absolute Man
Seem's legit

I looks to me like if you left these bits off you wouldn't have much off a kit left

Stuffed

Can't thank you enough mate
Toe
Similar threads
- Replies
- 4
- Views
- 982
- Replies
- 2
- Views
- 183
