ComfortablyNumb
New Member
- Joined
- Sep 14, 2011
- Messages
- 140
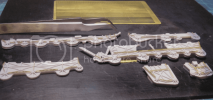
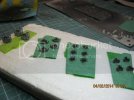
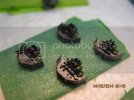
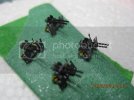
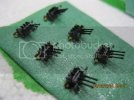
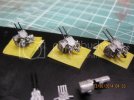
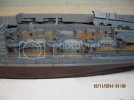
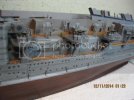
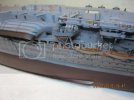
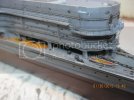
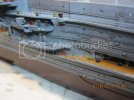
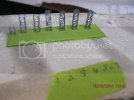
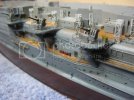
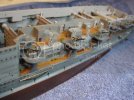
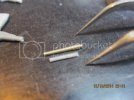
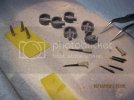
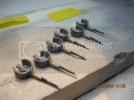
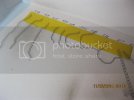
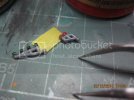
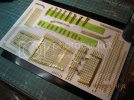
And here's all the underdeck supports, trams and columns done:
Now, where does all that pe go anyway? The flight deck is divided into 3 parts, but in looking I saw the underneath of all of them was pocked with large, deep ejector marks and many unwanted ridges. As I wanted a flat base for the grids to attach to, that had to be fixed.
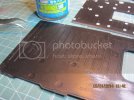
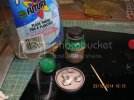
Mr. Surfacer, to do the fills, and some sanding got me what I needed:
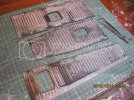
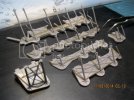
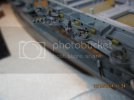
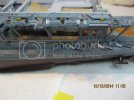
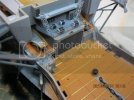
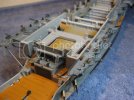
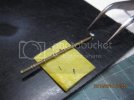
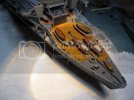
After painting the underside of the deck parts, I laid out the pe supports on the deck to check the fits
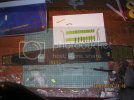
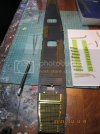
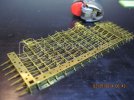
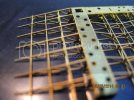
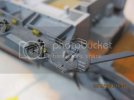
I was especially worried about this peice because of the changes in elevation of this part of the deck (the deck that this part covers is at first flat, then slopes down about 1/2 inch, and then flattens out again...but it was a perfect fit. Kudo's to the guys who designed this pe!
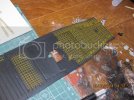
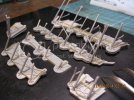
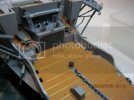
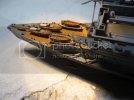
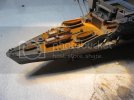
Mid-deck parts checked for fit:
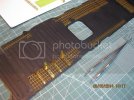
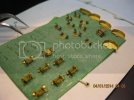
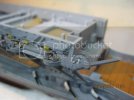
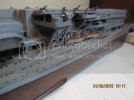
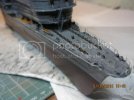
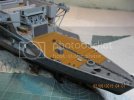
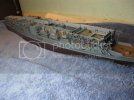
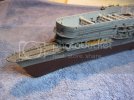
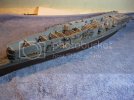
And another overall shot:
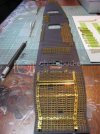
Thanks for viewing my model ship build so far, comments are always welcome of course! -Tim

Now, where does all that pe go anyway? The flight deck is divided into 3 parts, but in looking I saw the underneath of all of them was pocked with large, deep ejector marks and many unwanted ridges. As I wanted a flat base for the grids to attach to, that had to be fixed.

Mr. Surfacer, to do the fills, and some sanding got me what I needed:

After painting the underside of the deck parts, I laid out the pe supports on the deck to check the fits


I was especially worried about this peice because of the changes in elevation of this part of the deck (the deck that this part covers is at first flat, then slopes down about 1/2 inch, and then flattens out again...but it was a perfect fit. Kudo's to the guys who designed this pe!

Mid-deck parts checked for fit:

And another overall shot:

Thanks for viewing my model ship build so far, comments are always welcome of course! -Tim

