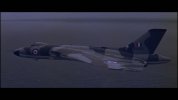
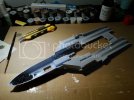
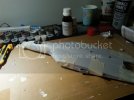
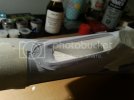
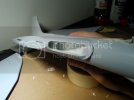
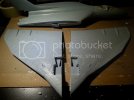
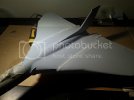
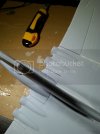
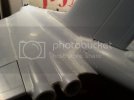
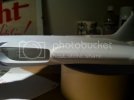
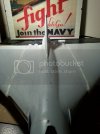
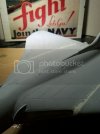
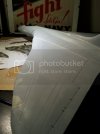
Hello, time to make an appearance in the aircraft section of the forum. And yes, FIRST AIRPLANE since I was a kid! Basically I needed something to occupy myself with and went looking. I found this kit for 15â'¬ in a local modelling store and went for it, despite of bad reviews. So here it is, along with my newly aquired workdesk! (girlfriend finally gave in)
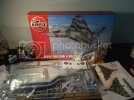
I did figure out quite fast why the kit has received so bad reviews.
Main concerns are inverted panel lines (raised, not recessed), and very poor fit of the fuselage parts. The poor fit is the easier to remedy in my opinion, just a lot of milliput ;D . The panel lines on the other hand are a different matter, maybe I'll have to go out and get myself a Dremel?
So, let's get to the build then! I'm going to build this basically out of the box, not sure how much I'll use the Humbrol acrylic paints supplied with the kit but we'll see... True to the instructions I started out with the pilots.
On this part Airfix did an ok job.
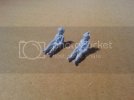
Painting the flyboys was a first for me, as will many things as the build progresses. I think the pilots came out quite nice, nothing special or too ambitious but no one will see much of the anyway.
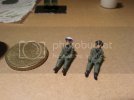
The cockpit is very simple indeed, just the pilots' seats glued to a floorboard + the an instrument board. The waterslide decal for the instruments is quite nice.
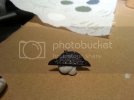
I went mega-simple on the cockpit chairs but I figured once more, not much will be visible in the end ;D .
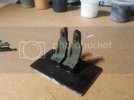
Got started on the air intakes. This is where I began to notice the "small" issues with how the parts fit, as you will see. Inside of the air intakes is painted with the supplied acrylics. They aren't too bad, but for the fuselage I'll get some spray-can primer and use my Humbrol enamels.
The intakes are supplied in 2 pieces/side for some reason, will require some putty in a difficult to access area.
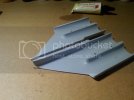
Some dry fitting after sanding the inside
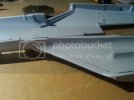
Painted and puttied.
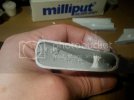
Different angle showing the compressor blades
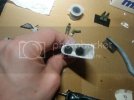
Dry fitted the assembled intake, just to find more gaps in the fit.
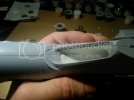
That's it for now. Next is sanding + repainting the intakes and getting the cockpit ready so I can join the 2 fuselage parts.

I did figure out quite fast why the kit has received so bad reviews.
Main concerns are inverted panel lines (raised, not recessed), and very poor fit of the fuselage parts. The poor fit is the easier to remedy in my opinion, just a lot of milliput ;D . The panel lines on the other hand are a different matter, maybe I'll have to go out and get myself a Dremel?
So, let's get to the build then! I'm going to build this basically out of the box, not sure how much I'll use the Humbrol acrylic paints supplied with the kit but we'll see... True to the instructions I started out with the pilots.
On this part Airfix did an ok job.

Painting the flyboys was a first for me, as will many things as the build progresses. I think the pilots came out quite nice, nothing special or too ambitious but no one will see much of the anyway.

The cockpit is very simple indeed, just the pilots' seats glued to a floorboard + the an instrument board. The waterslide decal for the instruments is quite nice.

I went mega-simple on the cockpit chairs but I figured once more, not much will be visible in the end ;D .

Got started on the air intakes. This is where I began to notice the "small" issues with how the parts fit, as you will see. Inside of the air intakes is painted with the supplied acrylics. They aren't too bad, but for the fuselage I'll get some spray-can primer and use my Humbrol enamels.
The intakes are supplied in 2 pieces/side for some reason, will require some putty in a difficult to access area.

Some dry fitting after sanding the inside

Painted and puttied.

Different angle showing the compressor blades

Dry fitted the assembled intake, just to find more gaps in the fit.

That's it for now. Next is sanding + repainting the intakes and getting the cockpit ready so I can join the 2 fuselage parts.

