STARMAKER.REBEL
Active Member
- Joined
- Oct 2, 2024
- Messages
- 320
I'm waiting for a Chinook CH-47A model 1/35th scale which should be coming in the mail sometime before October 31. This Helicopter has a purpose. That purpose is to carry a 1/35th scale Joint Light Tactical Vehicle JLTV-GP (M1278) into the Military Careers Office and display a new camouflage that I came up with for the JLTV-GP.
I'm using a Vietnam age Chinook diorama to carry a JLTV-GP Slung loaded under the Chinook. I am also buying Vietnam pilots. to bring in the new age. I kept trying to find bigger models bigger than 1/35 scale JLTV but there wasn't any. There were a few videos of remote controlled vehicles online but couldn't ever find the JLTV-GP RC for sale.
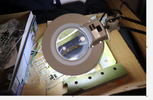
One day my social worker came over and she gave me an F-15 plastic model. I she gave me some of the slowest curing cement you could imagine but it eventually set one wing at a time. I had already drawn pictures of JLTV-GP camouflage and I wanted to present it to the Career Center and then I had an idea... instead of showing the Military pictures I could paint a scale model. This seemed like a good idea to me and when my social worker came over she looked on her phone for the JLTV and we THOUGHT she found one. Sometime later my Caregiver took me to the Sidekick Toy and Scale place and they didn't have the model there but had it at another store of theirs in another state. I thought maybe it would be work looking around anyway and came across this Helicopter called an 1/72th scale CH- 46 Sea Knight. I realized that I could suspend the JLTV from the bottom of the Sea Knight and I bought the kit for $25 U.S. Dollars.
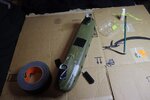
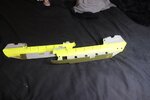
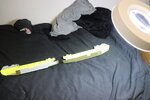
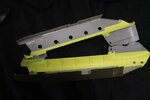
I took the model out of the box when I got home and was sorely disappointed with the teeny tiny itty bitty helicopter! It was WAY too small, but I decide to build the kit anyways. I showed off the tiny little landing gear and wheels that i had to assemble and walked out to the living room to show it to everyone everyonce in a while. Then when my Sea Knight was nearly complete I was cementing the rotors to the helicopter and managed to drop it. The tiny little thing fell to pieces!!! After discussion with my Caregiver we decided that I could buy a bigger model that wouldn't break so easily. So, here I am waiting for helicopters and pilots and JLTV in the mail. I got paints and stuff in the mail and expect more things in the near future.
Some questions have arised. Is there a primer that can be brushed on with a hair brush? Should I just not do primer because I can't be having overspray? Has anyone here used 1/35 scale pilots before?
It's time for my meds talk to you later

