suavetomcat
New Member
- Joined
- Mar 4, 2013
- Messages
- 303
Thanks Chris. I was quite pleased how they turned out. hopefully they'll look nice under some color! I always appreciate your feedback, so keep it coming! 
Well, it's been a couple of days since I got any photos up, but the work has been carrying on in the back round. So here's where we're at.
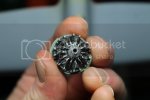
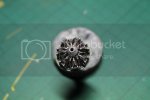
I carried on with the engine and prop, getting them both finished this afternoon. They're not fantastic but will hopefully look okay when everything is together. I got the ignition wires added, a bit more painting (which included a good dose of artistic license ), a dark wash, and a coat of flat varnish to finish off. I forgot to check the photos before I uploaded them and the engine isn't quite as dark in the flesh. Sorry about that.... will get a better one for next time!
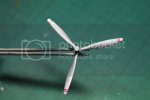
Next up is the prop. I decided to airbrush the markers on the front of the props instead of using the decals. So with a bit of careful masking and a quick once over with Tamiya flat red, the end result turned out quite well. I finished it off with a dark wash around the hub and a coat of flat varnish.
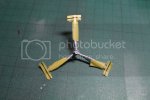
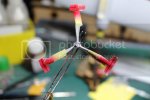
Most of the exhaust is going to be hidden by the cowling but I just couldn't resist dressing them up a bit. They were first sprayed with Alclad Steel, before being given an uneven coat of a heavily thinned black/brown paint. Two shades of rust pigment were then added to hopefully give them a bit of life.
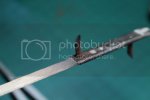
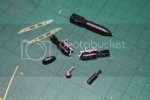
Got one or two other details finished off. Like the bombs (which I forgot to take a picture of....next time! : ), and the gun scope which sits on top of the cowling in front of the pilots windscreen. I also assembled the wheels/guards and masked off for painting.
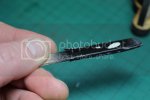
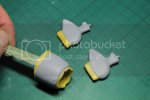
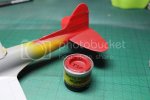
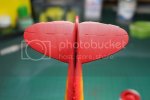
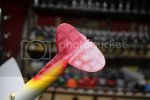
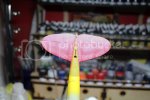
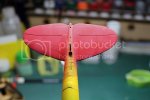
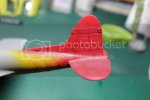
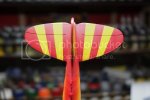
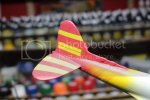
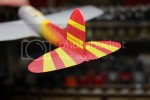
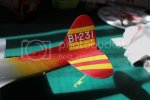
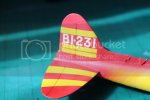
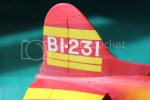
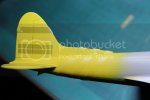
I did manage to get some color on the fuselage. As I'm airbrushing the markings I decided to start with the yellow on the Val's tail. Once dry I spent a bit of time getting everything masked for the next stage.
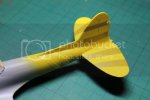
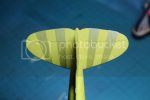
Trust me, those bands on the fuselage were a lot harder to do then they look, as you have to cut the masking tape with a slight wave in it to get them to sit straight and look right.... Sounds odd but with them being a double curved surface you need to.
That's about all I have time for tonight. Thanks for checking out the build. As always, please feel free to add any comments, questions or suggestions.
Chris
Well, it's been a couple of days since I got any photos up, but the work has been carrying on in the back round. So here's where we're at.
I carried on with the engine and prop, getting them both finished this afternoon. They're not fantastic but will hopefully look okay when everything is together. I got the ignition wires added, a bit more painting (which included a good dose of artistic license ), a dark wash, and a coat of flat varnish to finish off. I forgot to check the photos before I uploaded them and the engine isn't quite as dark in the flesh. Sorry about that.... will get a better one for next time!

Next up is the prop. I decided to airbrush the markers on the front of the props instead of using the decals. So with a bit of careful masking and a quick once over with Tamiya flat red, the end result turned out quite well. I finished it off with a dark wash around the hub and a coat of flat varnish.


Most of the exhaust is going to be hidden by the cowling but I just couldn't resist dressing them up a bit. They were first sprayed with Alclad Steel, before being given an uneven coat of a heavily thinned black/brown paint. Two shades of rust pigment were then added to hopefully give them a bit of life.

Got one or two other details finished off. Like the bombs (which I forgot to take a picture of....next time! :


I did manage to get some color on the fuselage. As I'm airbrushing the markings I decided to start with the yellow on the Val's tail. Once dry I spent a bit of time getting everything masked for the next stage.


Trust me, those bands on the fuselage were a lot harder to do then they look, as you have to cut the masking tape with a slight wave in it to get them to sit straight and look right.... Sounds odd but with them being a double curved surface you need to.
That's about all I have time for tonight. Thanks for checking out the build. As always, please feel free to add any comments, questions or suggestions.
Chris

