Carsenault
Member
- Joined
- May 7, 2009
- Messages
- 846
I traded a few kits in exchange for some aftermarket goodies for the 1/48 Hasy F-16I Sufa, still waiting for them too arrive. While Im waiting for that, I got the urge to build some armor. I bought this kit second hand from Elm City Hobbies last summer, having always wanted to build one of these Tank Hunters.
The kit is not one of the newer "Smart Kits" from Dragon, its one of he still nicely detailed, slightly older tooling "Imperial Series" kits. These dont have any PE or Magic Tracks like the newer kits, nor is there much slide mold tooling. The kit however is still fairly impressive with lots of detail, seperate track links and a few build options. No molded on Zimmerit like on the newer kits, the builder has to make his own. Since this is more of a learning build for me, I decided to opt out of the Zimmerit after I discovered some references for a few Early Jagdpanthers in western Europe without a Zimmerit coating. This will be my first German Armor kit and my first tracked vehicle too. One thing that suprized me is the size of the Panther chassis, when I was first studying the parts, I was wondering if I had a 1/25 scale kit, and not 1/35. The hull is just as wide and almost as long as the 1/35 Leopard 2A6M hull I have waiting in the stash.
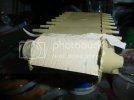
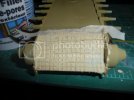
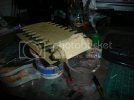
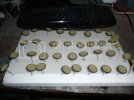
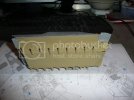
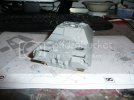
I started with the road wheels, there are 32 individual wheels not including the drive sprockets, idlers and return wheels... I kept each type separate from each other, placed them on some sprue, sanded the mold seams and sprue attachments, then airbrushed them with some Tamiya dark yellow, once tha twas dry I hand brushed the rubber rim using Gunze tire black. I will be doing a wash and filter coat eventually. Not planning to attache them to the hull until the tracks are ready. Besides the road wheels, I also started with the assembly of the upper and lower hulls detail parts.


