Hasbro 29" Millennium Falcon Conversion

Awesome work!
Yeah, this is just to much for me; you left me no choice, I just ordered one too...

Cheers!
Frank
 
Jurasikfrank said:
Awesome work!
Yeah, this is just to much for me; you left me no choice, I just ordered one too...

Cheers!
Frank

You'll love it!
Jaitea said:
Those new Quads look like they'll do some damage

J

Yeah kinda big eh!? Lol
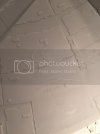
Not much of an update tonight just something I noticed that'll need sorting, the CE stamp:
BCF870F1-547A-4E40-87CC-78D0A797B91E_zpszjn0ptcx.jpg
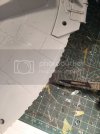
And the notches cut out:
7252E7A7-6D64-418B-BCB5-6E67AAF4DDF5_zpskrwx7nbm.jpg
 
Thanks guys! Yeah I'm really hoping to get this done in the time frame....plus one or two more lol
 
Hey hey hey!! ;D Howdy John! Yeah, I know, I finally showed up!! :p What an awesome project you picked for the contest! Saddly I have seen more of the progress on Fakebook than here...until now! ;D All that ha changed as I am up to speed now on the build! Nice bit of shedding going on and the usually high caliber building! Keep up the great work my friend!! 8)
 
At least that stamp is raised and you can sand off, rather than having to fill...

Looks great so far dude!
 
Thanks guys!! And hey Todd!! So cool to see you here, hope you got your comp build ready!?
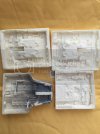
And I had a pleasant surprise when I got home from lunch today....a package from Jaitea with all this loveliness inside:
ACE536DD-ADE2-4A82-9BCD-4250E1F260D3_zpsjppysyxc.jpg
 
Nice... looks like you've been planning this one out for awhile! Might be able to pull it off after all... you getting the castings of the 3D printed sidewalls?
 
I thought about Randy's pieces but decided against it due to them not being accurate to the original. But I'm sure that it'll turn out looking good regardless.
 
Yeah Randys parts arnt accurate but there full of lush Falconess lol. Ok so here's a load of photos showing things.
Scratched the hell out of the surface so the glue would adhere better:
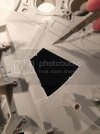
F9161705-7D54-4775-AD14-F6F2ACE1E974_zpsgvdru2tq.jpg
I'm using Alerdite 2 part 5 min epoxy glue....and it seems to be working fine:
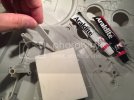
E2EFB524-9946-4E84-B79F-56D5993BEA08_zpsjxufkhyj.jpg
But I'm not taking any chances lol:
E7220EE2-DC15-40C3-84B4-2F37F8A1D7D6_zpshyiua5f8.jpg
It's holding fine! Gotta add a couple of greeblies and I'll be good to go on that part! Thanks J!
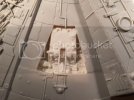
904B29CA-D8B2-483F-8460-B8EC20FBBEF4_zps1meqnoqz.jpg
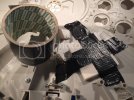
Now onto the docking rings, again glued with Areldite:
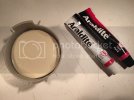
3E5BC5AD-4581-459A-B3DA-2A7A89F21E26_zpsazaxdo2y.jpg
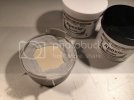
Then the gap around the edge filled with Aves epoxy putty, and also this my give some extra 'grab':
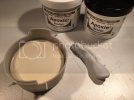
B4D56229-3B12-4A19-8EC1-EA589F46D701_zpswextdjyc.jpg
5FCC893E-39EB-48CE-8B1B-3573890DC807_zpscmjxqzfv.jpg
DAE482B0-4C90-4764-9BCB-829B5C808545_zpsxjbmayro.jpg
The edges of the Falcon needs to be trimmed back because of the putty I've put on:
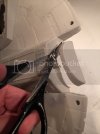
D9FFF029-4AF2-4EFB-A443-109BF967DA63_zpsuicnfzjw.jpg
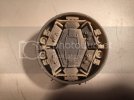
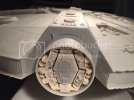
Fitted and I'm liking it, there's a big gap on the model that needs to be filled but I'll do that later ;)
C155C2D9-C5B5-46FA-87B2-F22CF2CB6678_zps0nnjvrww.jpg
 
Ace,....Randy's parts look more 3d,....more depth & functional

I'm really looking forward to see how this turns out

J
 
WOW, you are on fire John!! Great stuff here! Love seeing the destruction for the construction!! :eek: :eek: Grip-N-Rip!!
 

Latest posts

Back
Top