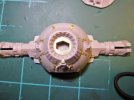
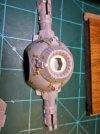
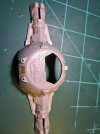
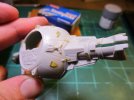
Imperial Tie fighter

Nice video update Grendels, I really appreciate how you take us through each and every step and your thoughts.

I'm really interested to see the electrical wiring and how that all works. I've tried my hand at LEDs a few times with good and poor results. Will you just power it with a 9v battery or something?
 
I am going to work out how to light up this thing tomorrow. I will take video on the process, so you will know how I am going about it.

Here is the next update:

https://www.youtube.com/watch?v=iq76XAzNYCs&feature=youtu.be
 
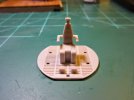
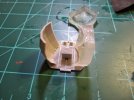
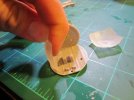
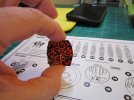
Tonights work on the TIE fighter, the pilot:

1010360_10104798191906834_1243134060296415664_n.jpg

10303781_10104798192081484_1850324423348470267_n.jpg

10359531_10104798192236174_1993182447174596194_n.jpg
 
Whoa! Just catching up here. All your hard work is definitely paying off, the p.e. is really enhancing the look of that kit. I've got the same kit and p.e. set, whenever I decide to tackle it I'll definitely look to these videos for inspiration. Nice clean paint job on the pilot, looks great!
 
Thanks! Too bad you will barely see the pilot, but that is the way it works some times.

Mr. Natural: The photo etch set for this kit is good. The directions are a bit dodgy though. And I did find one error on them. So take your time, find good reference and it will good. It really improves to overall look of the model.
 
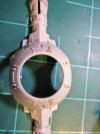
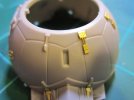
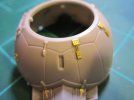
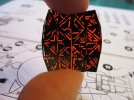
Here is another update on the Photo Etch, along with a discussion about the DVD versions of Star Wars.

IMG_1735.jpgIMG_1736.jpgIMG_1737.jpg

And the YouTube video:

https://www.youtube.com/watch?v=JJRCbwqUdkk&feature=youtu.be
 
Thanks all. I am almost to the painting stage. I should have time to get the lighting all sorted out today.
 
Here is the next update:

http://youtu.be/AGMDFbN5e_4

And a few photos:

QtYepdRWsZSRO-UWuyyrustQTBlJE1ps9vY6A=w904-h678-no.jpgIMG_1873.jpgIMG_1874.jpgIMG_1875.jpgIMG_1876.jpg

The exterior photo etch is now done, after thinking about the lighting, I decided to work on the interior first. That should be the next few updates.
 
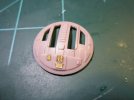
Looking sharp!.... but to me it looks as if the reactor cover (the one with the large hex cut-out) sits a bit off. It looks as rotated clock-wise 2 or 3 minutes. Could be perspective though...
KUTGW!
Guido
 
Tailor said:
Looking sharp!.... but to me it looks as if the reactor cover (the one with the large hex cut-out) sits a bit off. It looks as rotated clock-wise 2 or 3 minutes. Could be perspective though...
KUTGW!
Guido

I took a good look at it tonight and it is centered, it must be the photo. And I can see what you are talking about that photo makes it look off.....

Thanks Patrick! I am glad that the exterior is done, now on to the inside!!!
 
Thanks! Here are a few photos I missed on the last update:

CRCk6SwsTviVj-KUBzPaDxWy60Dk1e_xJ9MiI=w904-h678-no.jpgIMG_1741.jpgIMG_1743.jpgIMG_1746.jpgIMG_1748.jpgIMG_1749.jpgIMG_1879.jpg

And one mystery to me:

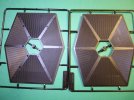
in the photo below, on the left solar panel there is a horizontal line runing through the panel. At first I thought it was a molding mistake, but I have seen it on other models. The question is this: What is the orientation of it? I can't find any good references for it. I am pretty sure it faces the inside of the model. Any help would be appreciated

IMG_1620.jpg
 
Wow that cockpit looks great!! That wing thing is weird. I've seen it before too but it usually disappears with primer/paint. It's probably just an injection issue.
 

Latest posts

Back
Top