Jakko
Well-Known Member
- Joined
- Oct 9, 2024
- Messages
- 617
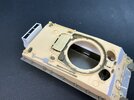
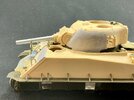
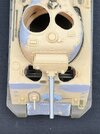
After several days of searching for pictures, looking at them, measuring on the model, making some sketches and finally asking on a forum, I built the lower part of the deep-wading gear.
Basic shape:
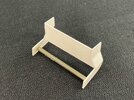
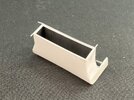
These are seven pieces of plastic card, plus a length of sprue as a brace. I made the large front plate from 0.5 mm card, and also the upper two parts on both sides. The lower ones are 0.75 mm card, to give some extra strength. When this dried, I glued an oversize piece of 0.13 mm card to the back/bottom:
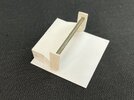
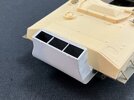
When this had dried enough, I glue it along the bend and underside too, but then discovered that it's better to curve the plate a little here first. So, I took it back off, then pulled the centre area between a ruler and the edge of my work surface a few times, and glued it back on:
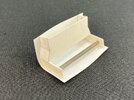
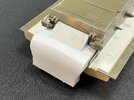
This because the back and undersides bulge outward if you don't make a curve in the plate first. They still do, but a lot less than on the first attempt. The bulge that's still there will get fixed when I add the framework that will go around the top. Once the glue had dried, all I needed to do was trim the plate to size, which is much easier than making it the right size first:
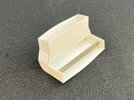
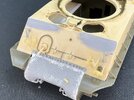
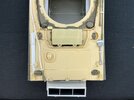
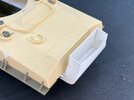
Well, I still need to clean up the seams and do a bunch of other stuff, but it already looks good against the hull:
Basic shape:

These are seven pieces of plastic card, plus a length of sprue as a brace. I made the large front plate from 0.5 mm card, and also the upper two parts on both sides. The lower ones are 0.75 mm card, to give some extra strength. When this dried, I glued an oversize piece of 0.13 mm card to the back/bottom:

When this had dried enough, I glue it along the bend and underside too, but then discovered that it's better to curve the plate a little here first. So, I took it back off, then pulled the centre area between a ruler and the edge of my work surface a few times, and glued it back on:

This because the back and undersides bulge outward if you don't make a curve in the plate first. They still do, but a lot less than on the first attempt. The bulge that's still there will get fixed when I add the framework that will go around the top. Once the glue had dried, all I needed to do was trim the plate to size, which is much easier than making it the right size first:

Well, I still need to clean up the seams and do a bunch of other stuff, but it already looks good against the hull:


