Messerschmitt Me-329

Good evening.
Time for and update.
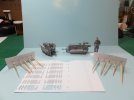
I had set myself a goal of finishing all the exhaust stacks this weekend. Alas it was not to be.
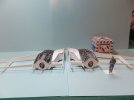
Put quite a few hours on the bench, but was only able to finish the stacks on one engine.
Building each stack one at a time was becoming a very slow process. I did come up with a system that has sped this up a bit.
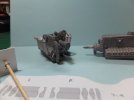
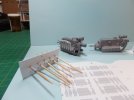
Engine21_zps119f2158.jpg


Engine22_zpsf32ca13f.jpg

Engine23_zpsf40e88eb.jpg

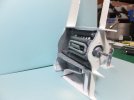
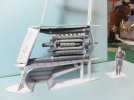
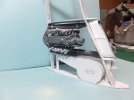
With one engine done, I could not resist getting it mounted into a wing.
It does give a feeling of moving forward, after so long with these engines.
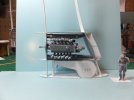
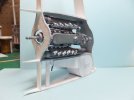
Engine24_zps5e524c94.jpg

Engine25_zpsff86badf.jpg

Engine26_zpsae890e23.jpg

Engine27_zpsa029452a.jpg

Engine28_zpsd12e667e.jpg

Still working away on the second set and hope to get them done soon.
I can't believe how quickly the end of the month is coming. I'm hoping I can get this done in time.

Thank you for following.

Jim
 
I was beginning to think these engines were going to be a neverending story.
Tonight the right engine was finally finished and installed into the R wing.

Engine29_zps4e73b403.jpg

The goal is for tomorrow to start adding skin to these wings.
Other than the panels over the engines most of this should go quickly. ( I say with trepidation as I've probably cursed myself. ;D )

Thank you for following.

Jim
 
Thank you Patrick.
The panels over the engines are removable, to view the engines.

Jim
 
Good evening all.
With the good weather finally upon us, along with some family obligations, I have had a hard time getting bench time as well as my modelling mojo in gear.
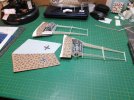
This past weekend, was finally able to get some work done, skinning these wings.
First of all got the inner wing area covered and cutout the landing gear bays.
With that complete, started on the outer wing skins.
The kit did not supply a bridge strip to the engine bay for the outer skins. I need this to support the skins over the engines.
Was able to use the strip from the inner skins, as it is the same shape, just shorter. So reprinted that part for this application.

Wing6_zps2afa93ba.jpg

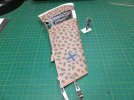
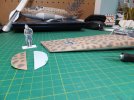
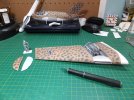
Shaped the leading edge to the contours of the ribs and glued it into place. Used clamps to hold the trailing edge closed and in position.

Wing7_zps9c758178.jpg

Wing8_zpse0635673.jpg

When that dried, then worked on the wing tip.
The tip was given a slight curve, then edge glued along the outside edge.

Wing9_zps98c724b2.jpg

Wing10_zps9e64779c.jpg

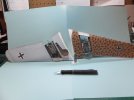
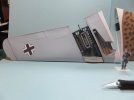
The tip was then glued in place and left to dry.
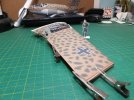
This was repeated for the other wing.

Wing11_zpsfa1ff154.jpg

Wing12_zps91b051a6.jpg

Wing13_zps1f18f4b9.jpg

This is where I am at this time.
I'm hopping to get this project done on time. We'll see.

Thank you for following.

Jim
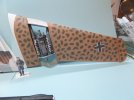
 
I'm sorry to report that this build will not be completed for the deadline.
It will get completed and I will not rush it.
Hopefully next year I can find a project that will be able to be completed on time.

Jim
 
Thank you Cave Dweller and Patrick.
Yes it will get completed, just too much of life interfering with bench time lately.

Jim
 

Latest posts

Back
Top