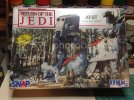
Hey guys, it been a while since I've posted anything here or actually started a new project, so bear with me....I picked this little gem up on e-bay a few years ago for a few bucks and after opening the box I realized why it was such a steal. There is a stunning lack of detail in this kit and the detail that does exist is very rough. So, I am going to try to modify and add as much detail in as my skills will allow. That being said.....
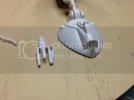
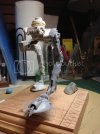
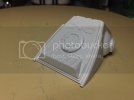
I started with the "head" and the first issue was the fit of the hatch. The mechanism that allowed the hatch to open and close would not let it set all the way back for a flush fit, so after a bit of trimming I convinced it to set nice and tight. I will come back later and fill any gaps.
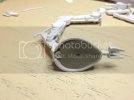
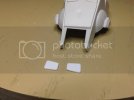
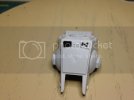
Almost all of the reference photos I've seen shows the shutters or "eyelids" in the open position. they are molded shut in this kit, so decided to cut them out and fabricate some new ones from sheet styrene. Also, note that there is a serious sink mark that will need to be filled right square in the middle of the "face".
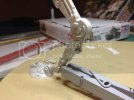
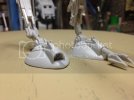
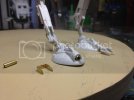
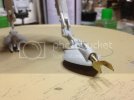
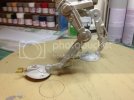
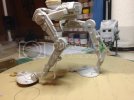
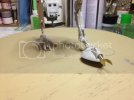
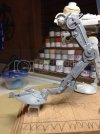
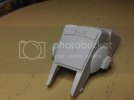
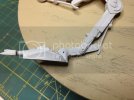
I also went ahead and put the leg assemblies together so I could see what I was working with. I started drilling a few through holes at the pivot points. My plan here is to detail these areas out with brass rod and styrene tubing. The fence cutters or "toes" will also need to be removed and re-installed with brass tubing.
That is all for now, hopefully you guys find this interesting. I am open to any comments or suggestions any of you may have. Thanks for looking and I'll post more progress as I go!


