trekriffic
Well-Known Member
- Joined
- Jan 6, 2012
- Messages
- 1,041
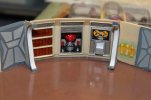
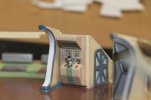
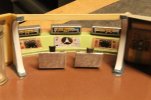
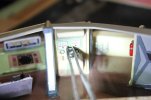
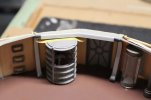
I added a bullnose edge to the counters in the lab and repainted them.
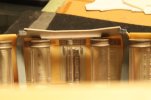
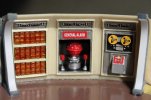
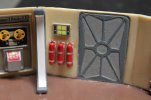
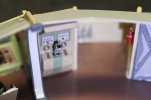
I then added tiny spigots/valves to the bottom front of each of the the three tall algae tanks.
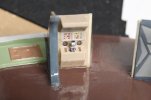
I also painted some tiny warning symbols on the device to the left of the tanks using red enamel and a very fine brush:
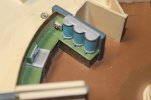
Jupiter 2 - Rework- Lab Counters and Algae Tanks by Steve J, on Flickr
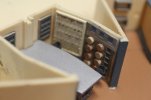
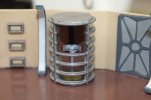
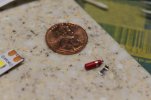
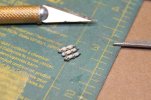
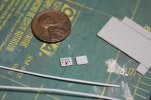
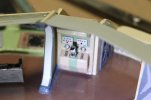
I painted the silver tanks upper and lower caps with aluminum enamel. The valves were made from tiny craft pins:
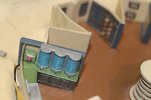
Jupiter 2 - Rework- Algae Tanks and Counters by Steve J, on Flickr
More lower deck work...
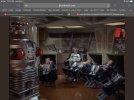
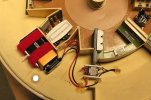
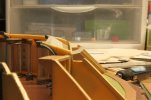
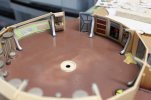
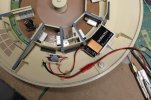
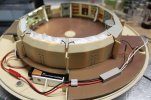
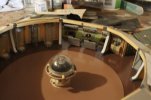
I fed the two wires from the projector LEDs up under the lab algae tank counter to exit out the lab's back wall.
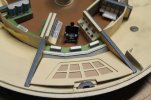
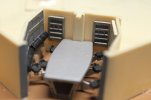
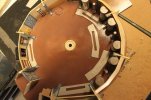
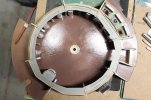
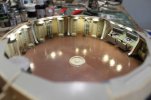
Now that the deck is glued into the lower hull I can work on the lower flight deck window and crash doors
which will be built in place attached to the sidewalls and lower hull:
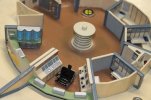
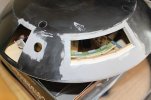
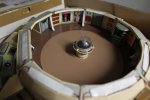
Jupiter 2 - Rework- Lower Deck Installed by Steve J, on Flickr
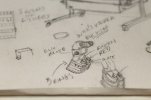
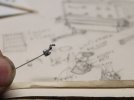
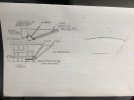
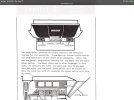
Made some quick sketches of the electronic washing machine that Maureen Robinson used.
It could wash, dry, and fold clothes in seconds using sonic waves:
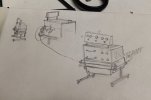
Jupiter 2 - Rework- Electronic Washing Machine by Steve J, on Flickr
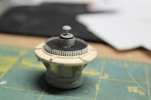
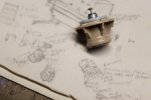
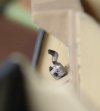
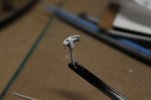
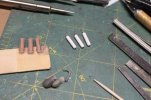
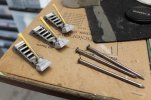
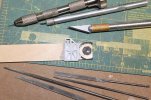
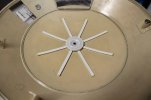
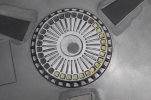
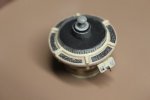
I used brass sheet and piano wire along with styrene tubing and rod to make the sonic washing machine:
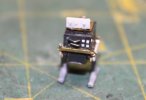
Jupiter 2 - Rework- Electronic Washing Machine by Steve J, on Flickr
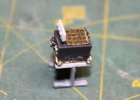
Jupiter 2 - Rework- Electronic Washing Machine by Steve J, on Flickr
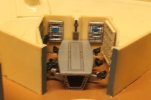
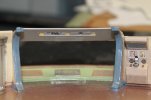
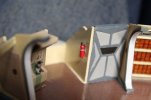
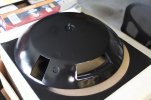
The electronic (sonic) washing machine was installed with epoxy in the lavatory across from the wash tub:
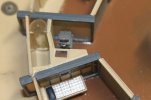
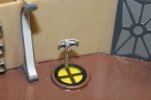
Jupiter 2 - Rework- Washing Machine by Steve J, on Flickr
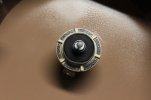
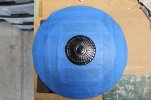
The washing machine was painted MM medium grey. I also applied some additional detailing using some leftover decals for vents and control knobs:
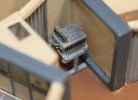
Jupiter 2 - Rework- Washing Machine by Steve J, on Flickr
Back to the upper deck...
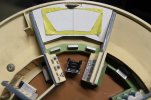
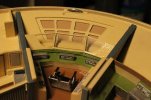
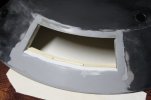
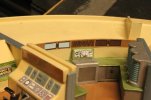
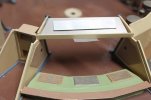
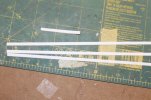
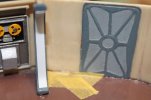
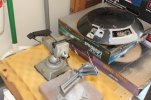
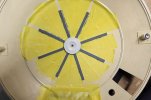
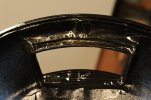
I glued a piece of thin styrene sheet to bridge the gap between the main flight control console and the main viewports:
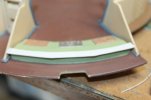
Jupiter 2 - Rework- Window Shelf Extension by Steve J, on Flickr
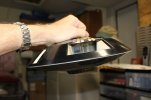
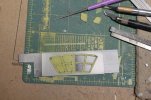
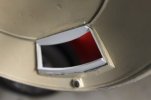
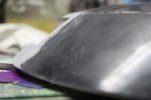
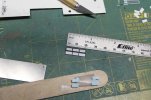
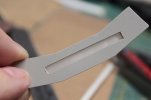
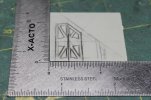
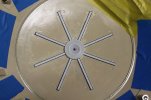
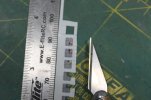
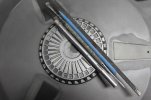
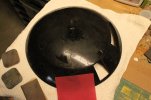
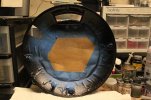
I taped over the upper hull clear window, then held it in place inside the hull with my hand while I traced the outline of the window frame using an ink pen. I'll use this for reference when I make new windows and frames from scratch:
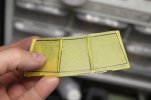
Jupiter 2 - Rework- Making a Template by Steve J, on Flickr
Next up... more astrogator work.
I then added tiny spigots/valves to the bottom front of each of the the three tall algae tanks.
I also painted some tiny warning symbols on the device to the left of the tanks using red enamel and a very fine brush:

Jupiter 2 - Rework- Lab Counters and Algae Tanks by Steve J, on Flickr
I painted the silver tanks upper and lower caps with aluminum enamel. The valves were made from tiny craft pins:

Jupiter 2 - Rework- Algae Tanks and Counters by Steve J, on Flickr
More lower deck work...
I fed the two wires from the projector LEDs up under the lab algae tank counter to exit out the lab's back wall.
Now that the deck is glued into the lower hull I can work on the lower flight deck window and crash doors
which will be built in place attached to the sidewalls and lower hull:

Jupiter 2 - Rework- Lower Deck Installed by Steve J, on Flickr
Made some quick sketches of the electronic washing machine that Maureen Robinson used.
It could wash, dry, and fold clothes in seconds using sonic waves:

Jupiter 2 - Rework- Electronic Washing Machine by Steve J, on Flickr
I used brass sheet and piano wire along with styrene tubing and rod to make the sonic washing machine:

Jupiter 2 - Rework- Electronic Washing Machine by Steve J, on Flickr

Jupiter 2 - Rework- Electronic Washing Machine by Steve J, on Flickr
The electronic (sonic) washing machine was installed with epoxy in the lavatory across from the wash tub:

Jupiter 2 - Rework- Washing Machine by Steve J, on Flickr
The washing machine was painted MM medium grey. I also applied some additional detailing using some leftover decals for vents and control knobs:

Jupiter 2 - Rework- Washing Machine by Steve J, on Flickr
Back to the upper deck...
I glued a piece of thin styrene sheet to bridge the gap between the main flight control console and the main viewports:

Jupiter 2 - Rework- Window Shelf Extension by Steve J, on Flickr
I taped over the upper hull clear window, then held it in place inside the hull with my hand while I traced the outline of the window frame using an ink pen. I'll use this for reference when I make new windows and frames from scratch:

Jupiter 2 - Rework- Making a Template by Steve J, on Flickr
Next up... more astrogator work.


