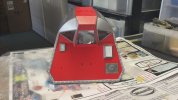
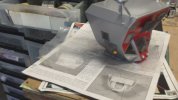
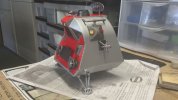
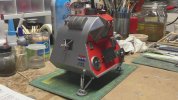
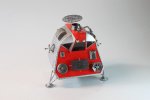
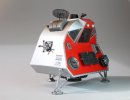
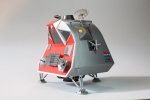
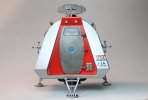
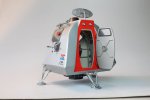
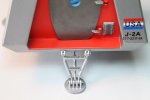
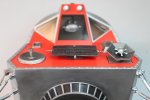
Space Pod from Lost in Space (1965)

trekriffic

Well-Known Member
Joined
Jan 6, 2012
Messages
996
Hey everyone, I'm kinda deep into the "Pon Far" of Lost in Space having just completed an arduous but fruitful rework of my old Polar Lights Jupiter 2 model.
So, now that the Jupiter 2 is done, I think I will just stay on the Lost in Space jag and build the original Space Pod EVA vehicle from Moebius Models:
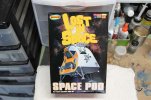
52016583363_d861dc7dd1_z.jpg
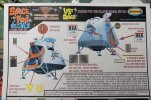
Space Pod from LIS - WIP- Box Art by Steve J, on Flickr

I have had this model in my stash for... like... forever, so I felt obligated to finally her.
This model will not be lit so should only take a few weeks I think.
Thank god as I have just spent over 6 months on the Jupiter 2 of which I will soon be taking pics and making a video...

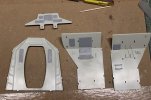
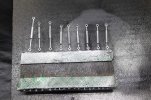
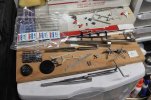
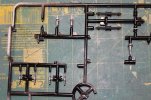
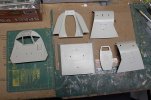
First thing will be to prime these parts for the exterior hull:
52015506737_c23c1c0c24_z.jpg
Space Pod from LIS - WIP- Parts ID and Prime by Steve J, on Flickr

Once primed I'll spray with Krylon gloss black followed by Krylon Metallic Aluminum.
This is the same color as I used on the Jupiter 2. Then I can airbrush other colors using enamels...

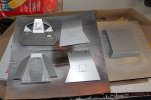
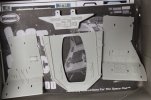
The various raised detail on the control panels of the walls need to be scraped/sanded flat prior to application of the aftermarket decals I bought years ago for this model:
52016540361_a82cf4cc0d_z.jpg
Space Pod from LIS - WIP- Parts Needing Detail Removal by Steve J, on Flickr

That's it for now. More to come.
 
That's great. I've seen this kit at stores and such, but never saw what it looks like inside the kit. Looks like you couldn't light it anyway.
 
I've seen LED chaser lighting kits for the fusion projector on the bottom going for around 40 bucks but they usually run on a 9V battery which won't fit inside the model so you'd have to power it from an external battery box or incorporate the battery into a base, maybe a diorama showing the pod landed on some alien planet. Yor might also be able to power lights using button batteries under the floor or in between the main console panel and the front hull section. Frankly, I'm a little burned out on lighting after my last two builds so I've chosen to just build this one unlit.
 
After removal of detailing and sanding to flatness the interior control panels were brushed with Mister Surfacer 1000:

52064126137_1d1a78c0b3_z.jpg
Space Pod from LIS - WIP- Control Panels Primed by Steve J, on Flickr

The interior walls were sprayed with Krylon Colormaxx flat white as a base for the final tan/ivory coats:

52065658990_566cb15e52_z.jpg
Space Pod from LIS - WIP- Interior Walls Sprayed White by Steve J, on Flickr

I made a mix of tan, light ivory, and gull grey enamel and airbrushed the interior walls and consoles:

52064126047_4463bb9a4d_z.jpg
Space Pod from LIS - WIP- Walls Sprayed with Custom Mix by Steve J, on Flickr

The left interior wall brackets, hoses, etc. were masked off using liquid mask prior to brushing with flat steel and black:

52065401424_c4d827faa5_z.jpg
Space Pod from LIS - WIP- Brushing with Micromask by Steve J, on Flickr

Tanks for the interior walls were brushed with International Orange and Flat Yellow enamel:

52065167986_3ab98fa14b_z.jpg
Space Pod from LIS - WIP- Interior Tanks Brush Painted by Steve J, on Flickr

After spraying with Krylon Gloss Black I gave these parts a brushing with spray with Kryon Metallic Silver and a brush with Testors Metallic Silver:

52065401344_a62dd7cdf0_z.jpg
Space Pod from LIS - WIP- Struts Silver Coated by Steve J, on Flickr

I used Krylon Colormaxx Metallic Aluminum, the same color I used on the hull of the Jupiter 2.
It's a dead match for the color I've seen in photos and videos of the 4 foot Pod model:

52065183443_e65119a2d0_z.jpg
Space Pod from LIS - WIP- Ext Hull Sections Sprayed Metallic Aluminum by Steve J, on Flickr

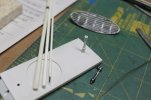
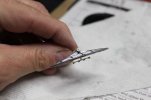
Using the kit part as a guide I made a new shaft for the parabolic antenna on top of the pod.
I used three sizes of styrene tubing including one that has a core of carbon steel piano wire for added strength:

52064125952_0c73f0e8d2_z.jpg
Space Pod from LIS - WIP- Antenna Support Shaft Replaced by Steve J, on Flickr

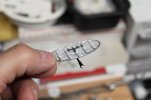
The blueprints and photos I found online on the Irwin Allen News Network site showed a row of four directors on a short shaft in front of the concave reflector dish. I added this detail using brass and styrene rod and tubing:

52064125932_fb0e817370_z.jpg
Space Pod from LIS - WIP- Antenna Directors Scratche Built by Steve J, on Flickr

These directors (looks like a hay rake) were added using brass rod and styrene tubing. Painted with black enamel prior to metallic silver:

52065183418_295f9050c9_z.jpg
Space Pod from LIS - WIP- Antenna Directors From Scratch by Steve J, on Flickr

Lots more to follow!
 
Pretty spiffy Steve.
I have this in the stash myself and you're trailblazing will be my bible, Hoss.
Searching for some of the ColorMaxx as we speak.
I have already decided against the photoetch for this, as being almost twice the cost of the kit.
Whoa, way too much.
 
Pretty spiffy Steve.
I have this in the stash myself and you're trailblazing will be my bible, Hoss.
Searching for some of the ColorMaxx as we speak.
I have already decided against the photoetch for this, as being almost twice the cost of the kit.
Whoa, way too much.
I buy the Krylon Colormaxx cans at my local Michaels craft stores, they often have online 40% off coupons. I've also heard Lowes carries Colormaxx products.
 
Continuing on...

The radar dish and hinge brackets are silver, the rest were airbrushed with Testors flat steel enamel:

52083530443_3289a30a0e_z.jpg
Space Pod from LIS - WIP- Steel Painted Bits by Steve J, on Flickr

These parts are scattered across the upper shelves and hobby craft carts next to my workbench and yet I rarely lose any parts to the garage floor monster:

52083751919_ac41beef10_z.jpg
Space Pod from LIS - WIP- Parts is Parts by Steve J, on Flickr

Various small plumbing parts were sprayed and hand brushed prior to install:

52082478167_11f3902740_z.jpg
Space Pod from LIS - WIP- Small Parts Painted by Steve J, on Flickr

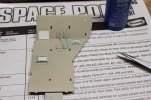
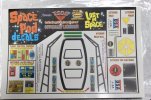
This is the actual decal sheet. The decal are on clear film so you are told to paint the surface white underneath the decals for them to show up properly once in place. Extra decals are included which was nice:

52082477792_dee9ffa2a5_z.jpg
Space Pod from LIS - WIP- Decals and Instructions by Steve J, on Flickr

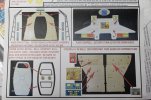
Upper and lower half od decal instruction page:

52084006640_5f2715643b_z.jpg
Space Pod from LIS - WIP- TSDS Decal Instructions by Steve J, on Flickr

52083751799_e8de76d566_z.jpg
Space Pod from LIS - WIP- Decal Instructions by Steve J, on Flickr

The landing struts, pins, pads, and hinges were painted with Krylon metallic silver then sanded and hand brushed with more of the same color in Testors enamel:

52083511201_954b549bc0_z.jpg
Space Pod from LIS - WIP- Landing Gear Painted Metallic Silver by Steve J, on Flickr

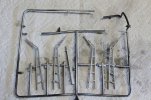
I used up most of my remaining Testors flat steel in my airbrush to paint the remaining parts including these cabin wall girders.
Thankfully I conserved just enough steel for minor touchups after installation but I need to get more for my next builds:

52084006405_4d9b37a9a6_z.jpg
Space Pod from LIS - WIP- Girders Airbrushed by Steve J, on Flickr

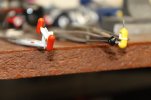
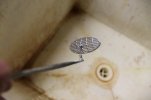
The parabolic antenna's directors were painted metallic silver making the antenna now ready for install atop the pod:

52083530103_cbb2167da2_z.jpg
Space Pod from LIS - WIP- Parabolic Antenna Done by Steve J, on Flickr

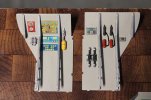
The right and left interior walls are done. I added straps and other details to the tanks, fuses, etc using leftover decal material and foils:

52083751564_e4159fb2c2_z.jpg
Space Pod from LIS - WIP- Right and Left Interior Walls by Steve J, on Flickr

That's all for now but stay tuned Lost in Space fans... there's a lot more to come!
 

Latest posts

Back
Top