Thereal9thdoctor
Well-Known Member
- Joined
- Jun 27, 2021
- Messages
- 571
Ok. Have to try that then.Packing just the nacelles with foam insulating tubing would not cause the motors to overheat however:
View attachment 87737
IMG_3973 by Steve J, on Flickr
Ok. Have to try that then.Packing just the nacelles with foam insulating tubing would not cause the motors to overheat however:
View attachment 87737
IMG_3973 by Steve J, on Flickr
Whenever I feel myself getting impatient and starting to rush, I have to put it down as well, or I start messing up.So am I. But that isn't happening just yet. I have started to rush a bit. I need to step back for a few days at least and take a break from it. The wiring is gonna be fiddly work and I am already worried I could goof up badly as is.
Agreed. Normally its not a big deal for me, because I have developed a "system" that ends up building kits quickly... but this is a whole new beast due to the size, complexity compared to the older Enterprise kits I built over the years, and I want to do the best job I possibly can on this one. Plus its also meant as a pathfinding kit for a second build that will be a different ship type.Whenever I feel myself getting impatient and starting to rush, I have to put it down as well, or I start messing up.
Yeah, PE can be a pain. Just primed the pylons and found that there is a LOT of super glue in between the PE grill holes on the vents. Hopefully I can paint them to hide that.I understand new ground. I am working with PE for the first time and trying to decipher what from the sprue to use and what not so I can use the PE part as well as modifying and filling. I work a little at a time and put it down for awhile
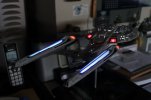
Yeah, PE can be great, but I am not convinced at this point I absolutely needed it for at least certain parts of this kit. I suspect the nacelles will have a similar glue fill in like the ones on the pylons. That doesn't fill me with happiness.When I was working on my Enterprise E, I had so much trouble with the PE on top of the nacelles that I took about a 3 week break from it. Doing so allowed my frustrations to subside and come up with a better solution to the problems I was having.
I like it too, but for me there seems to be an opinion anymore that all kits NEED at least some PE anymore, but I am not convinced of that. Especially when its stuff like these grills that are almost certain to get easily damaged or like what happened to me, glue fills in all the holes in them. At that point, I'dve rather just stuck with the kit parts.That's right. I was never like this, easily frustrated and lose of interest if the model does not keep me entertained. Not sure of it's my advancing age or PTSD. I figured the PE would be something different and will hold my interest. I do actually enjoy figuring out the various problems and best way to do the PE.
I like it too, but for me there seems to be an opinion anymore that all kits NEED at least some PE anymore, but I am not convinced of that. Especially when its stuff like these grills that are almost certain to get easily damaged or like what happened to me, glue fills in all the holes in them. At that point, I'dve rather just stuck with the kit parts.
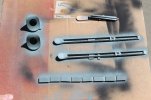 Big Enterprise Nacelle Parts in a Medium Grey by Steve J, on Flickr
When I build the Condor out of a second one of these, I will not use the grills. There are other parts I will use but not the grills.That's one of the reasons I went with the kit grills myself on my own build:
View attachment 87751Big Enterprise Nacelle Parts in a Medium Grey by Steve J, on Flickr
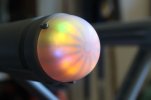
Having said that I love how the PE fan blades looked with the lights on:
View attachment 87752
USS Enterprise 1/350 scale - Bussard Detail by Steve J, on Flickr
No problem at all.Please forgive me if I seem to be hijacking your thread. It's just that I really am enjoying watching you work on this and I get carried away reliving my own experiences sometimes.
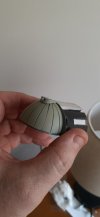
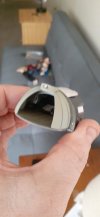
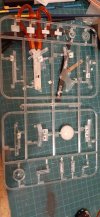
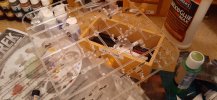
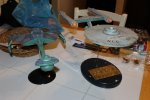
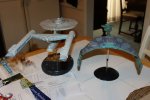
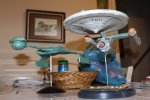
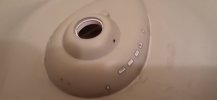
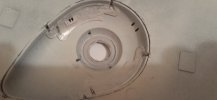
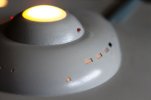
Crap. Wish I had thought of that. I'm worried about adding the paint masks to them since the MKK is slightly sticky when dry.Yeah, the windows on B/C deck are particularly deeply recessed aren't they? On my build I cut tiny rectangles out of thin clear styrene sheet, gluing them on top of the kit window inserts with MKK. Worked really well to make them flush with the hull and I didn't have to worry about adding more MKK due to shrinkage as the MKK dried. I found I could also sandwich the shadow casters in between the window and the clear styrene so they stood out more when backlit.
