Alrighty then !!!
Well I'm finally finding My way back into th Panzer Shoppe, after an unexpected , unintended Production stoppage ... but that's all over Now Holmzz !!
Th Panzer Shoppe is once again bustling with activity ....
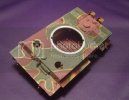
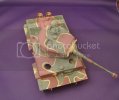
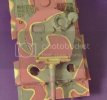
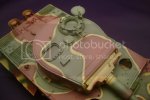
I've finally shot th Tiger in Her Camo Coat !! This is th 1st. in all Vallejo & I love it !!
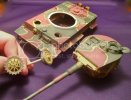
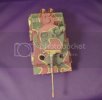
After I highlighted th base coat in Model Air Dark Yellow + German Camo Beige = Sunny skin tone , I masked off th Horizontal parts with Blu-Tac. Rolling it in small spaghetti straps . I then shot th Big Fields in Cam. Dark Green & Tank Brown ( both Model Air) I then went back a gently pushed down th Blu-Tac til it overlapped th Fields & shot th highlight color - both base coats saw a mix of German Camo Beige mixed in. I then did a Panel fade ( C.M. ) on th fields.
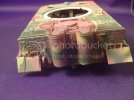
The Vertical surfaces were shot with patches of Red Brown & Dark Green "Crowes Feet" - from looking at all of th Pix from the site Tigers in Focus -
http://www.tiif.de/thread.php?threadid=35&sid= , It seems that each Kompanie ( 1st, 2nd & 3rd. ) had Their own distinct types of Camo, different still were th Kommand Tigers - 007, 008 , & 009 . 007 was th Kommand Tiger for 2nd Kompanie , so after checking th pix on th site & thumbing through Tigers in Combat II , I came up with an educated guess of what Wittmann's last Tiger might have looked like. I figured if you are on th ground , th patches & "crowes Feet" may be good enough, but from th Air - th Big Fields lends it's self to better concealment. With that being said .....
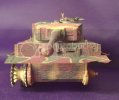
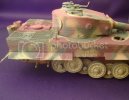
I also have the Verlinden Tiger Detail set's Fenders on ( Copper P.E.) & after a lil' annealing, I got th "damage" I was lookin for. The Front Fenders are from th Kit & I was surprised at how well I could "dent" them up. Also for some added excitement I left a couple off .
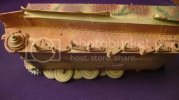
With th Road Wheels & Sprockets off I took th time to add some Dirt & Mud. I combined MIG productions Pigments & ModelMakerZ pigments to get th Dirt. I then took th mix & added it to Liquitex's Matte Medium Gel to act as th Mud, adding different shades to denote fresh caked up Mud.
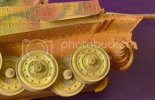
I used a Very worn brush to stipple on th Mud, every time raking it off on th under side of th Fenders !!
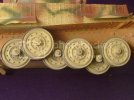
The Road Wheels & Sprockets were given th AK Interactive Dark Steel treatment ! I used, Um, borrowed an Eye Shadow applicator to spread th Very Fine Pigments on to th side of th Worn Steel Wheels & teeth of th sprocket, coming back to hit th face of these to give them some preliminary wear !!
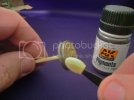
It seemed to stick better this way & it adhered a lot better than graphite from a pencil !!
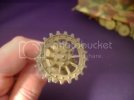
I had a bit of a mishap with th Trax. I had originally intended to use a set of ModelKasten Trax that I had purchased at th AMPS Nats back in April . Even though th Box was Open ( This will come back to Haunt Me inna minute) & th Bag containing th trax was also opened & th Instructions were missing, I thought that i had counted enough trax to do a full set ..... So I go about puttin these lil puppies together. Well ... long story Longer .... I'm 20 linx short of a complete set. So, Begrudgingly I'm stuck with th DS trax. ( I hate DS Trax). I shot them with some Vallejo Black Primer this after noon & let's see how well they weather ..... Wish ME luck. I've never had good luck with paint & weathering sticking to th DS trax, although this
is th 1st. time I've shot thVallejo Primer on a set of DS trax. .. I'm staying positive .. Time will tell !
* let that be a lesson to you - If you buy anything from a Show & it's already open .... check very throughly before buying !!
I'm back in th Styrene Groove !!!
Thanx for lookin' !!
