DavidsScaleModels
Well-Known Member
- Joined
- Sep 16, 2022
- Messages
- 144
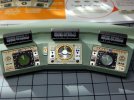
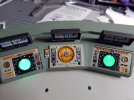
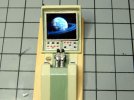
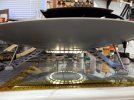
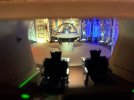
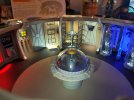
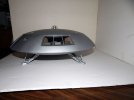
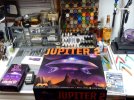
This next build is a commissioned build of the Moebuis 1/35 scale Jupiter 2 from the TV show "Lost in Space" The client supplied the kit and all the accessories he would like added to the kit. The TV show ran from 1965 to 1968 and was produced by Irwin Allen. The premise of the show was the Robinson family set out look for other planets for space colonization. The ship was knocked off course and they were lost in space.
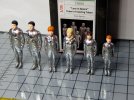
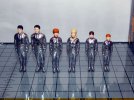
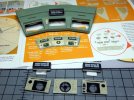
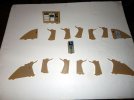
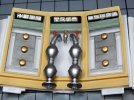
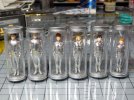
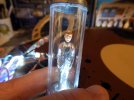
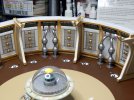
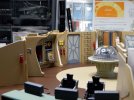
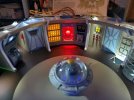
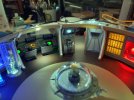
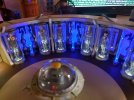
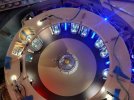
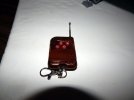
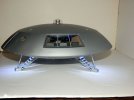
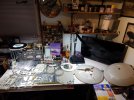
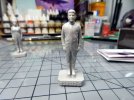
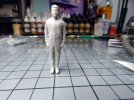
There is a stack of accessory items that were supplied by the client. The first add-on id the Moebius Light Kit, this is a kit sold by the kit maker Moebius to illuminate the interior and provide the engine and external lights. The second add-on I will be using is the Starling sound board, this provides the sounds of the ships engine spinning up and running for about 20 seconds. A remote control system to operate the lights and sounds via a 4-button remote control is supplied by Tenacontrols. The next two add-ons are a full set of decals from TSDS and Green Strawberry's 1/35 resin figures of the Robinson family. These figures will be placed in the cryo tubes that suspended the crew for the long journey into space. I will also be adding some other details to improve the appearance of the final kit.
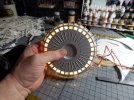
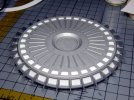
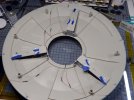
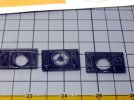
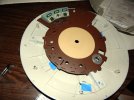
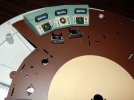
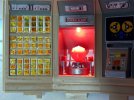
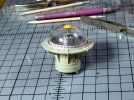
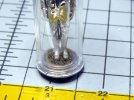
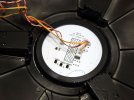
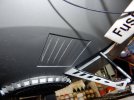
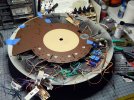
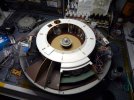
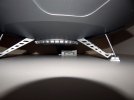
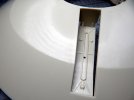
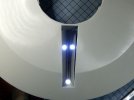
I started with the cleanup of the resin figures. The figures needed to be removed from the casting base and then I needed to clean up the areas between the legs and between the arms and body. The lower part of the ship was the next area I worked on. First the light kit has you drill a hole in a side wall of the landing gear bays to place a large LED. The actual lights portrayed in the show are on the topside of these bays. There are three lights that they have you paint two of them and drill out the third. These drilled out holes according to the light kit are for the power connector, interior light switch, and engine light control. Since the switch functions will be done remotely and I will be relocating the power connector. With that in mind I drilled out all three lights in all the bays and inserted a clear dome. Instead of one large LED sticking out of the wall I will be using three small LED's to replicate what was seen in the show.
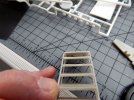
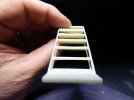
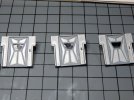
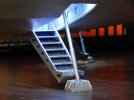
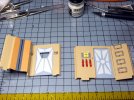
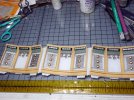
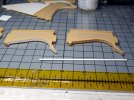
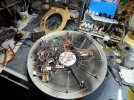
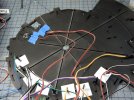
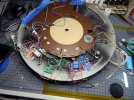
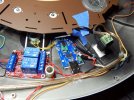
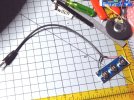
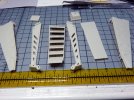
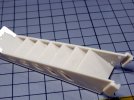
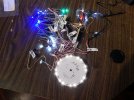
Next I started working on the landing gear and entry stairs. The first problem I encountered is the kit molding is not the best. The stairs thickness is not even. The second issue is the side rails have many mold marks and when dry fitted to the stairs the bottom platform has lots of gaps. I started off sanding the top of each stair to make them an even thickness and then filling the gaps and mold marks with putty. I also did a check on the light kit which was recommended with the instructions. All the lights work fine. I also tested the remote controller and the sound board. I need to plan out how to hook the lights, sound, and controller board together. Since the three separate card use different voltages I will need to design a power divider board to accommodate them.
You can see more photos and details in my build log at:
https://davidsscalemodels.com/build-log/1-35-jupiter-2-lost-in-space/


