Back again!!!
With little time to spare in the past couple days, it seems like I have been slacking on this. I am headed out to a chorus concert tonight for my daughter, but wanted to pop this up.
In wanting to get some part put together here, I turned my attention to the interior floor. This will be a damp, moldy and neglected area. Since this is covered...for the most part, it will be much darker and well, damp!

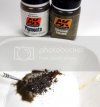
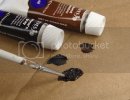
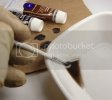
I need to first lay down some substance. I chose to start with AK's Dark Earth. Using some White Spirits to dampen the corners, I began to stipple the pigment in to the corners and where I think things like dirt, rotting leaves and other junk would build up.
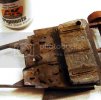
Next I wanted to add some of the moldy coloring I believe would be seen in this damp area. Using AK Dark Slimy Green, I applied this in the corners where you would see some ponding from water.
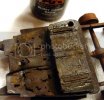
This was quickly followed up by some AK Slimy Green Light.
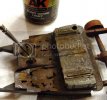
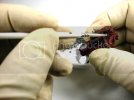
After applying the Slimy Grimes, a quick light wash down with White Spirits to soften the looks. This is done with a "Humid" brush. Dip the brush and dab quick 1 to 2 times on an absorbent towel and run the brush lightly over you work.
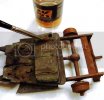
The very next application was with some AK wet effects. I will have another coat going on here and there, before I am done.
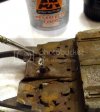
After a little drying time, the chassis is starting to come alive.
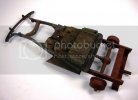
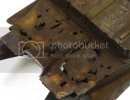
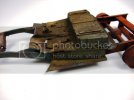
Making headway on the hood as well. Using the same process I used on the exterior of the cab to reviles the rusty color beneath.
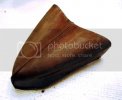
Here we will take one last look at the cab after the first round of chipping and before the next satge of weathering.
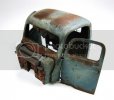
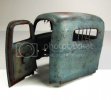
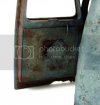
I think at this point I could say "OK, I'm done"....nope!!! Still plenty to go. The next stage will bring out the faded look the exterior would get from UV (Ultra Violet) rays from sitting in the sun.
Just before I get started on the next stage, I laid down a real thin layer of clear coat to yet again protect the layer below. This ever so slightly modifies the colors of the rusting as I did not spray a lot. This next stage will lighten things a bit.
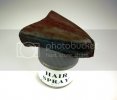
Here is yet again another layer of hair spray/chipping fluids. This will allow me to manipulate the fading I am applying next.
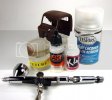
After allowing this to dry I choose some Tamiya Deck Tan and Light Sea Grey. I mixed these 15%/15%/70% Thinner. So this is almost to wash capacity but will still react like paint.
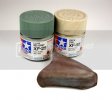
You can see how the underlying paint and rusting immediately lighten in tone.
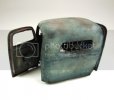
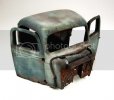
Allowing this to cure for the night, I will be chipping and scrubbing very little of this away, to make room for more weathering layers. Building up layers is key to the depth of the weathering. I will be getting back to this in later updates.
Onward......the motor!!
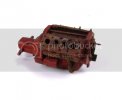
After laying down some clear coat it was onto the AK Worn Effects as I went to town on the forgotten power plant.
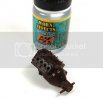
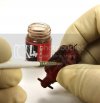
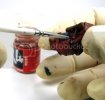
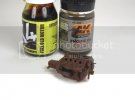
I decided to use some Tamiya Flat Red to add a touch of color. Most of this will most likely not be seen but I know it there and the tiniest of accents sometime will surprise you.
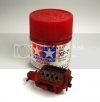
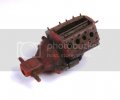
You can see I left the manifold areas where the heads were installed, untouched.
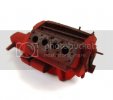
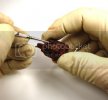
Now we need to chip chip chip away again. Taking a small tipped brush I applied a little warm water mixed with a touch of thinner to the freshly painted motor.
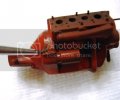
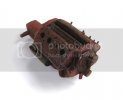
Following the same process on other parts of this kit, I used a stiff bristled brush and lightly stabbed the painted section of the motor trying to hit areas that I think would show through the rustiness below.
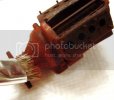
You can see the depth from just this chipping and it only will get deeper.
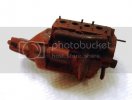
SO with all this, onto more soon. I need to dirty up the motor and make a little bit of greasy, oily mess, glue some parts together and add some more layers to the cab and frame.
As always I appreciate the company...thanks for stopping by!!!


