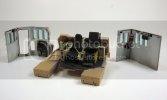
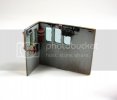
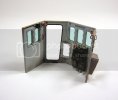
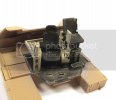
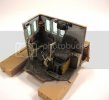
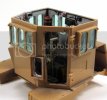
OK, time for another little update! Finally getting 90% of the operator's station worked out I buttoned up the walls and began adding some of the add-on armor! Step 14 though 17 show the bulk parts as being:
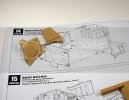
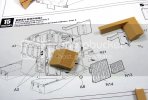
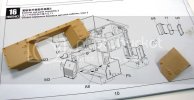
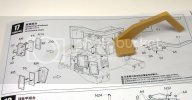
These are all pretty much straight forward. There is one application of PE on a grab handle to the left of the door, the rest being small handles and such but these larger pieces make up the bulk of the exterior of the cabin.
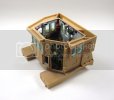
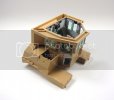
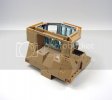
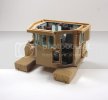
These parts really start to bulk out the look of this beast. They also bring up the weight a bit too...things are noticeably heavier which is not a bad thing!!
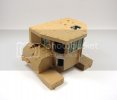
Here is a shot with the roof installed. There is a nice snug fit here so I may of may not be leaving this one as an option...time will tell!
Moving forward, it is all about the running gear now! I cleaned up the rollers and idlers along with the elevated sprocket and bogies.
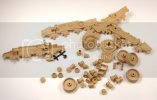
All of the wheel sections go together like a dream! As for the bogies, not too bad. I have seen some horror shows as this is one area that a lot of people have a problem with or get frustrated over due to the fit. I can only tell you what I observed and worked on. Yes, the connecting mold edge is a little less than desirable. Is it workable..Yes!
For the purposes of this debate, I have one sanded and one not sanded.
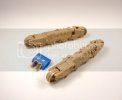
The not sanded is the one on the top in the picture. All I needed to do was take a course sanding stick and lay the stick flat along the adjoining pieces and clean them...that was pretty much it. Before hand there were some gaps but these were dure to cast of from the mold and are removed really easy.
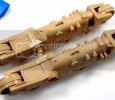
The joint was not too bad after gluing as in the one on top again. A needle file and some fine grade sandpaper, it was done in a few minutes.
Please Note: In regards to the rollers, the installation instructions ask that the wheels and the two halves of the running gear go together at once!...LOL I did manage to do one this way. I would submit that you try the second way I went at this. I placed the two idlers, which do not get glued and then glued the two halves together. Then fit the rollers, also not glued, after the glue dries on the two halves. Put one post in and then slightly and gently bend the two sides out until the part slides in and locks into the corresponding inset. This method took about 3 minutes whereas the first took 15 to 20. Just food for thought!!
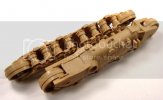
The elevated sprockets have a Poly-cap to be installed allowing full movement of this part when done....I really like the way these look!!
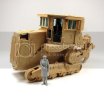
After these sections all came together I am still able to dry fit all of the larger components of this Dozer together and still be able to break it down for ease of painting later! So of course I needed to dry fit and I figured I would toss up a perspective shot. This is a figure I grabbed off the bench to show the collective size of this one!! This one keeps getting bigger and bigger!!
Off to fit some track I think and keep putting on some of the smaller peripheral items I neglected along the way...like handles, lights and what not!!
As always, thanks for dropping in!!
[attachment deleted by admin]


