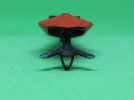
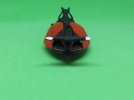
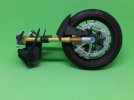
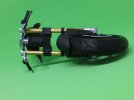
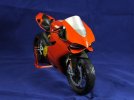
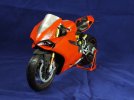
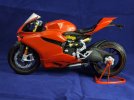
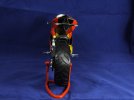
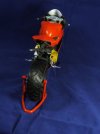
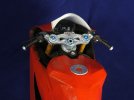
Ducati 1199 1/6th scale 3D Printed Model

Papermodder

Modeller in both Plastic and Paper Card
Joined
Jan 2, 2013
Messages
1,224
Good Day.
I don't normally have more than one project on the go, but for this I will make an exception.
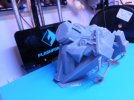
As some of you are aware, I recently acquired a 3D printer. This will be my first major modeling project with it.
I want time to get all the pieces printed out, before we start construction. that is why the early start.
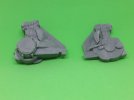
This model was designed by Valcrow and consists of over 40 pieces.

The files.
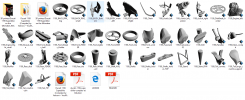
Parts%201_zpsnthgy0ks.png

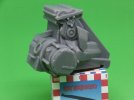
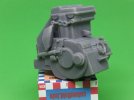
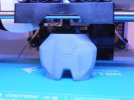
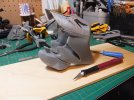
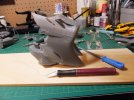
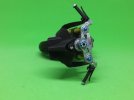
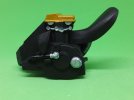
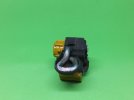
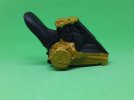
The engine which consists of 2 pieces, was printed out yesterday with grey PLA filament. It still needs some cleanup but fits together ok.
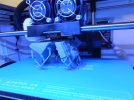
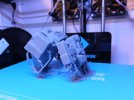
Engine%201_zpsboowlmps.jpg

Engine%202_zpsvyfzlzjf.jpg

Engine%204_zps2gcfgiql.jpg

Engine%205_zps7brnd7qx.jpg

Engine%206_zpsnf5ob7ao.jpg

Engine%207_zpsh7ydotac.jpg

For us this will be a new genre to add to our hobby. Hopefully this will add people who are also designers as well as builders to the community, as there is with the Paper Model community, to expand the availability of non existent models and addons.

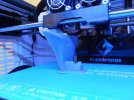
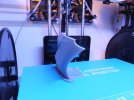
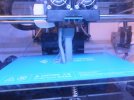
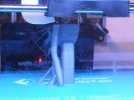
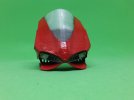
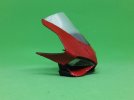
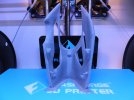
Today started printing the windscreen. This is in clear ABS.
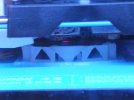
Windscreen%201_zps1zeq5vap.jpg

Thank you for following.
Questions and comments welcome.

Jim
 
Have to admit envying you the printer there.
Would love to be able to print out some projects myself
 
I lucked out with that printer. It was an as is buy of a returned unit from the distributor. Once I got it back together it was a fairly simple repair.
I'm very happy with it.

Jim
 
Good day.
Update.
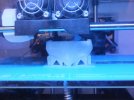
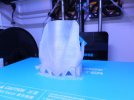
Finished off printing the Windscreen. The only problem with it was the first time the nose of the front end collapsed and had to restart the print.

Windscreen%202_zpsr9ju0w5f.jpg

Windscreen%203_zpsfpiybqa0.jpg

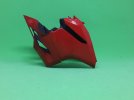
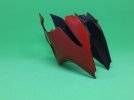
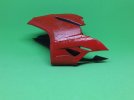
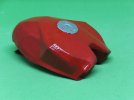
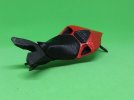
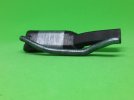
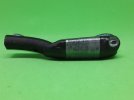
The body panels printed with very few problems.

Bottom%20Body%20Panel%201_zpsx6ucwinp.jpg

Body%20Panel%202_zpsturhiwhb.jpg

Body%20Panel%203_zpsyxpi224r.jpg

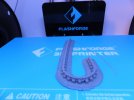
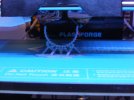
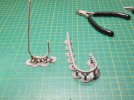
Now the drive chain is another story. Because of it's fragile nature, I tried to print it without any supports right on the bed. There was no way that thing was going to stick. Then tried it with supports, but they were too tight and the chain just shattered trying to remove them.

Chain%201_zpsvfu4dnpr.jpg

Then tried printing it vertically and all the detail was lost do to it vibrating.

Chain%202_zpsamurd7lt.jpg

My third attempt was to print it horizontal again but higher off the bed and used less trees for support.
For the most part this worked, but I broke the chain near the bend, my fault. I could repair it but will probably reprint it later.

Chain%203_zpstmodfcty.jpg

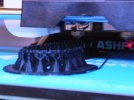
Yesterday the fuel tank was printed. The first try it came unstuck from the bed at the 30% mark. Restarted the print and it went all the way through.

Tank%201_zpsqxlpsnux.jpg

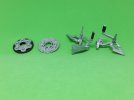
Now the brake disks were interesting. Because they are so thin I printed them on a raft. Big mistake. They printed fine but they are impossible to remove from the raft. So, printed them individually on the bed with no support and slowed the printer right down. They printed beautifully. The chain sprocket was no problem at all, it was thicker anyway.
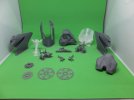
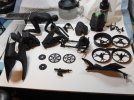
So here is a pic of all the pieces printed so far. These are not cleaned up yet and some still have supports attached.

Printed%20Parts%201_zpsstaghax1.jpg

This is definitely an interesting project, and does tax your skills but am learning a lot about my printer and laying out a design for print.

Jim
 
What is the material it uses ?
What are it's cured properties like ?

Uru
 
Hi Uru.
The clear parts are ABS and the rest are made of PLA. Other than the setup for each material they are very similar with ABS being a little more flexible.

Jim
 
Good Evening all.
With the BSC over, it was time to get back to this bad boy.
Finally finished off printing the last of the 42 components.

Muffler%201_zpsh9pzbzyn.jpg

Muffler%202_zpskb415b2v.jpg

Even printed off another attempt at the drive chain. This one was a lot more successful because of a heated knife that made it a lot easier to remove from the supports.

Chain%204_zpsn7gxphkm.jpg

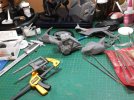
Am now working on cleaning up pieces and building sub-assemblies, getting ready for paint.

Cleanup%20amp%20Subassemblies%201_zpsofhhxg5w.jpg

Cleanup%20amp%20Subassemblies%202_zps98wpol2g.jpg

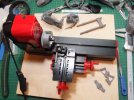
For round pieces, like hubs, axles and forks, I used my 6 in 1 tool configured as a machine lathe, to clean them up and to improve their fit.

Cleanup%20amp%20Subassemblies%203_zps9eukgmtf.jpg

Building and filling seam work.

Cleanup%20amp%20Subassemblies%204_zpsatbiwxbf.jpg

Thank you for following.
Questions and comments welcome.

Jim
 
Good evening.
Finally finished all the fitting, sanding, filling and sub assembly construction on the bike.
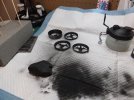
Spent yesterday and today giving all the sub assemblies and parts a good coat of primer.

Prime%201_zps96ny1dae.jpg

Prime%202_zpsu77xbqfy.jpg

Prime%203_zpsrbar0dco.jpg

Everything is now ready for a coat of colour.

Jim
 
Sorry for the length of time between updates. With vacation period over probably more time for the bench.
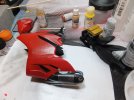
Anyway. Have started adding colour to the pieces. Not wanting to hide the fact that these are 3D printed, I did not sand the surfaces flat and left the print lines showing. Will probably experiment on techniques for a smoother surface on future builds.
For colour I'm using mostly Golden fluid acrylics with Golden's airbrush medium.

Paint%201_zpse2cfdarj.jpg

Paint%202_zpsxgchlza4.jpg

Paint%203_zpslscbhl5y.jpg

Paint%204_zpsvq79dela.jpg

Paint%205_zpszttykjd5.jpg

Paint%206_zpscmer23hz.jpg

The seats are straight black PLA, and used Tamiya clear red and orange on Golden's iridescent silver for the tail lights.

Paint%207_zpsnrwskywt.jpg

Paint%208_zpskdekdkru.jpg

Paint%209_zpsl2s4z0dv.jpg

Thank you for following.
Comments and questions welcome.

Jim
 
Good evening all.
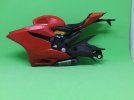
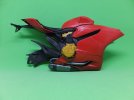
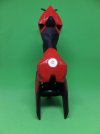
More of the painting is now done and I am just about ready to start major assembly.
For a first attempt at this large a 3D printed project, I'm fairly happy with the result so far.
The front end is now assembled and ready to install into the main body.

Paint%2010_zpshbmwrwvw.jpg

Paint%2011_zpsxgqv5eci.jpg

Paint%2012_zpsmkygh225.jpg

The Engine.

Paint%2013_zpsxeggmzqr.jpg

Paint%2014_zpspjypjrpx.jpg

Paint%2015_zpstmzxqotu.jpg

The exhaust.

Paint%2016_zpshihrkdxt.jpg

Paint%2017_zpsmuefam80.jpg

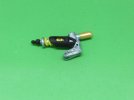
Main Shock assembly.

Paint%2018_zpsp15a4gbw.jpg

Rear sprocket, Rear disk shifter and break.

Paint%2019_zpsqx2pv58r.jpg

Now to get all the pices and sub assemblies together.
Thank you for following.
Questions and comments welcome.

Jim
 
Good evening.
Have had a very productive build session this weekend. Had to deal with a couple of fit issues, that were easily fixed.

Assembly%201_zpsamgfpztf.jpg

Assembly%202_zps19cwmfy1.jpg

Assembly%203_zpsi3maz0qv.jpg

Assembly%204_zpszx6skaua.jpg

As of tonight everything is installed other than the front faring. I still have to make and apply the decal for the IP display before the faring can be installed.

Assembly%205_zpsattyjj3k.jpg

Assembly%206_zps4zapdtle.jpg

Assembly%207_zpsrs8xx40x.jpg

The front faring has been fitted and the paint touched up. I'm very happy with how it looks so far.

Jim
 
Good evening.
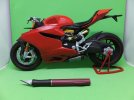
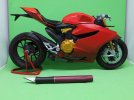
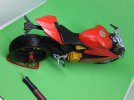
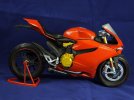
The Ducati is now finished.
Here are the final pics for this build.

Final%201_zpsnkeafgvb.jpg

Final%202_zpsihs7bbrk.jpg

Final%203_zps4jza8yvx.jpg

Final%204_zps1zkm7ikk.jpg

Final%205_zpscwzkiewm.jpg

Final%206_zpswxtleou2.jpg

Final%208_zpstvmnqing.jpg

I'm happy with how it turned out. This was my first major 3D model that I have printed out and finished. It has been a great leaning experience.
Now on to the next project.

Thank you for following.
Questions and comments welcome.

Jim
 

Latest posts

Back
Top