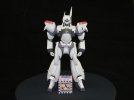
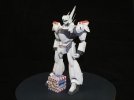
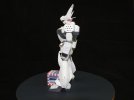
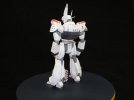
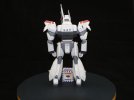
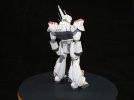
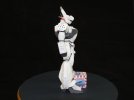
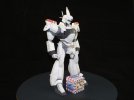
Patlabor Maintenance Facility

Thank you CTspeedshop.

The head is now attached. I will have some pics soon.

Jim
 
Thank you Scott.
With the head now attached, I think he looks awesome.
I did a photo shoot this morning, will probably post pics later this afternoon.

Jim
 
Good day to all.
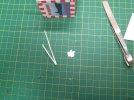
From where we left off, the antenna for the neck collar area had to constructed before the head could be installed.

The parts for that antenna array.

Antenna1_zpsac608976.jpg

With that completed and installed the head could be attached to the body.
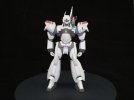
Here is a video of the completed Ingram.

http://youtu.be/b-mBEEQZnGk

Here are the fixed images.

Labor1_zpscecb2276.jpg

Labor2_zps21dd1481.jpg

Labor3_zps364d127f.jpg

Labor4_zps8e7fa8c0.jpg

Labor5_zps2375a18d.jpg

Labor6_zps93ba5c70.jpg

Labor7_zps2436c890.jpg

Labor8_zpsf2dd9ce5.jpg

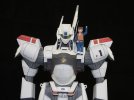
The template came with a very boxy simple figure of Noa, Alphonse's pilot. I built her up but did not attach her. I just used her for a random effect.

LaborampNoa1_zps1ba4e125.jpg

Head and shoulders shot.

LaborampNoa2_zps08e31b48.jpg

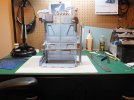
Next up, back to the maintenance station and reinforce the gantry lift. Then add some more details.
We're coming near the end of this project.
Thank you for following.

Jim
 
Hi, update time.
Since in order to secure the lift, the maintenance station needs a solid base.
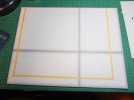
I'm using a solid paint board for the base and am in the process of designing the shop floor around the station.
At the same time I am learning a new graphics software " Inkscape ", to produce the concrete floor and additional accessories.

Base1_zpsac4a0ec1.jpg

Have a good evening.

Jim
 
Jim do you print all these parts out, and do you engineer and paint them on your computer? If so, what program do you use? If you do you must go through a fair amount of ink cartridges.
 
Thank you Cargoman.

Glorfindel, I have yet to build a preprinted kit, although I do have 2 in my stash. So yes all the parts are printed out on my printer. I use a 6 ink printer, that way I do not waste ink, as compared to a standard 3 ink colour cartridge, which when one of the cells is dry the cartridge is no good. Plus with a 6 ink or greater system not as much colour mixing as compared to a standard 3 ink system, therefore the ink lasts longer and more ink per cartridge.
At the moment I have only engineered small parts and addons. As well as recolours. For software I use a 3D CAD program for the design, a graphics editor, ie like Photoshop or Corel to add colour and graphics. Then a program, Pepakura designer to unfold the design and create the pieces.
As I mentioned I'm learning a new graphics editor "Inkscape".
There are still some people out there that do all the design work by hand, " old school". Now days I only do simple parts by hand.

Jim
 
Good evening all.

Tonight I have finished designing the shop floor and have printed them out on 110lb card. Using spray adhesive, have attached the floor panels to the base board.

Base3_zps49d9e859.jpg

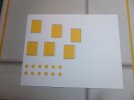
The safety barrier posts have also been designed and printed out on 110lb card.

Base4_zps3cf63c07.jpg

These now have to be cut out and assembled, before they can be attached.
Will soon be able to mount the maintenance station.

Thank you for watching.
Comments and questions always welcome.

Jim
 

Latest posts

Back
Top