The Nylon Gag MK.2 F1 Magneto Skimmer
- Thread starter The Nylon Gag
- Start date
Jamaicanmodels69
New Member
- Joined
- Apr 17, 2011
- Messages
- 604
It's like put your pride away .......look and learn!
Amazing Gagster you just never get tired, that paint
on the thrusters is just beautiful man!!!!
Amazing Gagster you just never get tired, that paint
on the thrusters is just beautiful man!!!!
The Nylon Gag
New Member
- Joined
- Nov 14, 2011
- Messages
- 829
Evenin All,
Wow, thank you so much guys for the positive vibes man, we're looking groovy baby.
Enought of that,
Swazbeenoccurin then.
Slow, and I mean, Sloooooooow progress lately
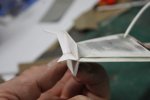
Returned to the front wing to add a couple of end plates
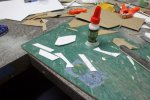
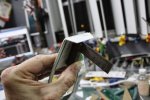
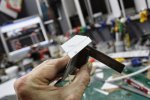
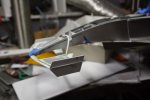
Made some small outer end plate elements
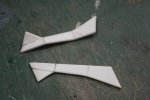
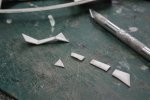
After much filling with super glue and using baking soda as a filler ended up with these
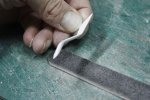
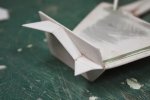
Finished
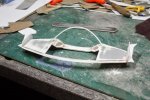
And dry fitted
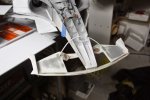
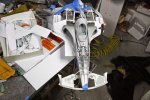
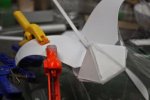
Then i moved on to the rear wing, the design is just a larger version of the front to start with, we will remove and add as we go.
Basic design
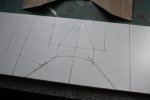
Cut out the basic shape
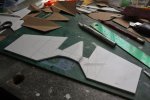
Separated
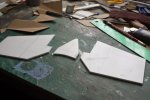
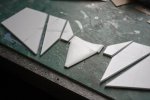
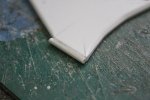
"tube" one adjoining edge,
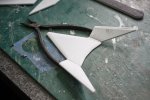
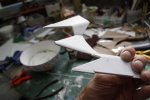
Attach to the tube, your next piece in the wing sequence
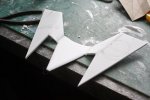
and the next
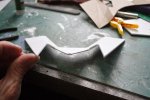
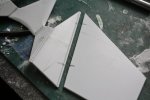
Tube one side and mark ready for a hinge assembly
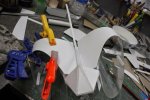
I then moved on to the rear of the main body, put some spacers to fix the gap width of the side pods
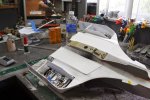
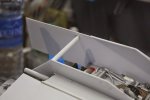
Improved the rear underside central profile
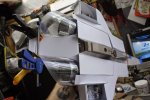
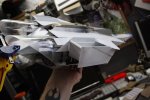
Started work on the upper rear profile
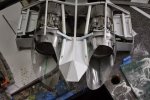
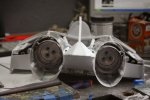
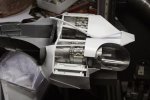
Added the first skin to the top of the engine exhaust fairings
And that's about it,
See you soon
take care
Gag
Wow, thank you so much guys for the positive vibes man, we're looking groovy baby.
Enought of that,
Swazbeenoccurin then.
Slow, and I mean, Sloooooooow progress lately
Returned to the front wing to add a couple of end plates


Made some small outer end plate elements


After much filling with super glue and using baking soda as a filler ended up with these


Finished

And dry fitted


Then i moved on to the rear wing, the design is just a larger version of the front to start with, we will remove and add as we go.
Basic design

Cut out the basic shape

Separated


"tube" one adjoining edge,

Attach to the tube, your next piece in the wing sequence

and the next


Tube one side and mark ready for a hinge assembly


I then moved on to the rear of the main body, put some spacers to fix the gap width of the side pods


Improved the rear underside central profile


Started work on the upper rear profile


Added the first skin to the top of the engine exhaust fairings


And that's about it,
See you soon
take care
Gag
JohnSimmons
For Spud: I was once Merseajohn
- Joined
- Jan 4, 2011
- Messages
- 5,645
Stunning work as always mate!
peza
Member
- Joined
- Jun 27, 2012
- Messages
- 612
Eh up gagstar,well dude ya knocking this build right out of the park again..
and hears you thinking it looks abit y wingy,not a chance of that now it looks more like a land fighter!😋
or a bullet on steds...keep it up bro,if you build it...they will come!!!lol
cheers mym8....peza
and hears you thinking it looks abit y wingy,not a chance of that now it looks more like a land fighter!😋
or a bullet on steds...keep it up bro,if you build it...they will come!!!lol
cheers mym8....peza
The Nylon Gag
New Member
- Joined
- Nov 14, 2011
- Messages
- 829
A very good evening to you all,
Thanks for your interest my friends
Well, July turned out to be quite interesting,
Firstly, I had a small heart attack, then i won the All Open in the BSC
Wow
Spent 4 days in the hospital after i passed out at work.
Have to lay off the salt and work on my cardio vascular fitness and watch my colesterol
I HATE geting old
But anyhoo
Whats been happening with the MK2 Magnito Skimmer
Lets have a look.....
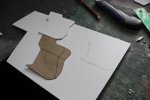
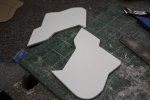
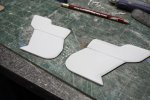
So continued with the rear wing
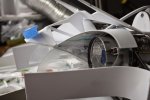
Side vanes
Added the down flaps
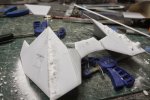
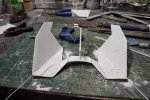
Top wing element
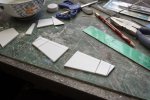
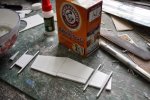
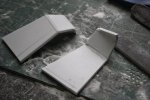
Shaped the top element and side elements
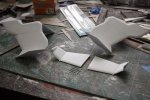
Attached everything together
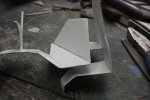
Drilled holes in the main wing
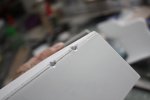
Drilled holes in the external wing element
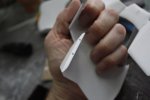
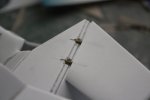
Pinned with brass rod and dry assembled
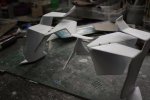
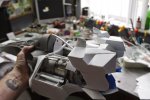
Drilled the rear assembly to receive the wing
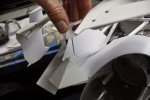
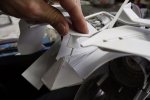
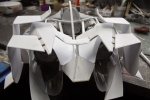
Then shaped and fitted the floor pan
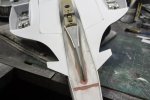
Primered, Mmmmmmmmm
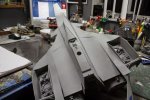
Filled
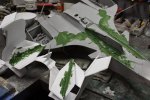
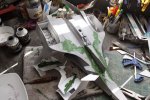
Sanded and re-filled
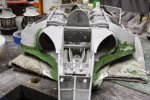
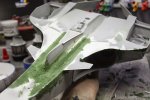
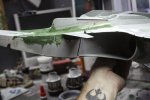
And thats about the size of it
Still alive, just
Still modelling, always
Take care
Gag
Thanks for your interest my friends
Well, July turned out to be quite interesting,
Firstly, I had a small heart attack, then i won the All Open in the BSC
Wow
Spent 4 days in the hospital after i passed out at work.
Have to lay off the salt and work on my cardio vascular fitness and watch my colesterol
I HATE geting old
But anyhoo
Whats been happening with the MK2 Magnito Skimmer
Lets have a look.....
So continued with the rear wing

Side vanes


Added the down flaps


Top wing element


Shaped the top element and side elements

Attached everything together

Drilled holes in the main wing

Drilled holes in the external wing element

Pinned with brass rod and dry assembled


Drilled the rear assembly to receive the wing


Then shaped and fitted the floor pan

Primered, Mmmmmmmmm

Filled


Sanded and re-filled


And thats about the size of it
Still alive, just
Still modelling, always
Take care
Gag
JohnSimmons
For Spud: I was once Merseajohn
- Joined
- Jan 4, 2011
- Messages
- 5,645
Wow man glad your ok, excellent work. Now just look after yourself! You know us Brits love a fry up 
The Nylon Gag
New Member
- Joined
- Nov 14, 2011
- Messages
- 829
A Very good evening to everyone,
Thanks for the well wishes and support my friends, it means a great deal to me that you guys are along for the ride. Doing much better now, visited the cardioligist this week and he explaned what I need to do to improve my health.
No salt, lower my colesterol (no more fry ups John, ??? , and I do love me a good fry up, hey, I'm English OK) and do some of that cardio vascular exercise stuff.
Time to break out the Time Trial Bike again me thinks. It's been a while. In my 20's I could regularly do a sub 23 minute 10 mile time trial, but I ain't 20 no more.
But anyhoo, so what's been happening on the bench.
Been a bit distracted these last few weeks planning for my next big project, will tell all soon, but as for the MK2, lets have a gander.
Its been fairly boring, fill, sand, fill, sand ,fill ,sand and repeat
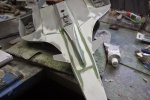
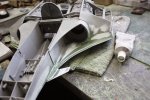
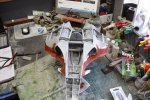
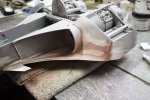
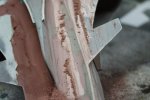
It's been the same thing for the rear wing, fill, sand fill, sand, break, repair, fill, sand, fill, sand,.......etc
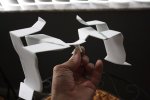
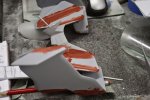
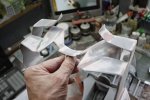
Mmmmmmmmmmmmmmmmmmmmmm
Primer
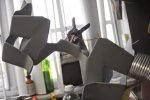
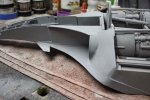
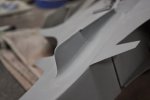
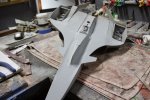
And finally a few dry fit beauty pictures of the story so far.
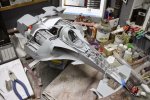
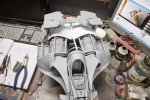
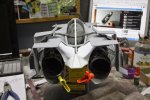
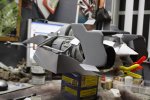
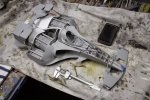
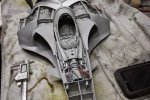
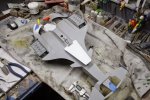
I'm now working on the top skin around the canopy, trying to get everything to open and close invisibly is prooving a bit tricky
But, that's next time
Stay tuned my friends
Take care
Gagstermansky
RIP
Robin Williams
The world was a better place with you in it :'(
Thanks for the well wishes and support my friends, it means a great deal to me that you guys are along for the ride. Doing much better now, visited the cardioligist this week and he explaned what I need to do to improve my health.
No salt, lower my colesterol (no more fry ups John, ??? , and I do love me a good fry up, hey, I'm English OK) and do some of that cardio vascular exercise stuff.
Time to break out the Time Trial Bike again me thinks. It's been a while. In my 20's I could regularly do a sub 23 minute 10 mile time trial, but I ain't 20 no more.
But anyhoo, so what's been happening on the bench.
Been a bit distracted these last few weeks planning for my next big project, will tell all soon, but as for the MK2, lets have a gander.
Its been fairly boring, fill, sand, fill, sand ,fill ,sand and repeat


It's been the same thing for the rear wing, fill, sand fill, sand, break, repair, fill, sand, fill, sand,.......etc


Mmmmmmmmmmmmmmmmmmmmmm
Primer


And finally a few dry fit beauty pictures of the story so far.


I'm now working on the top skin around the canopy, trying to get everything to open and close invisibly is prooving a bit tricky
But, that's next time
Stay tuned my friends
Take care
Gagstermansky
RIP
Robin Williams
The world was a better place with you in it :'(
Similar threads
- Replies
- 7
- Views
- 657
- Replies
- 0
- Views
- 270
