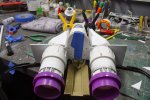
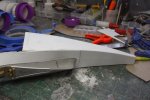
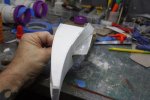
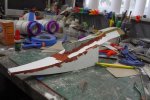
The Nylon Gag MK.2 F1 Magneto Skimmer

Evenin All,

Thanks for stopping by and leaving comments guys, appreciated muchly

Just a quick update this evening on the side pod progress,

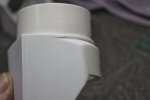
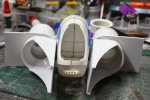
Started by gluing 1.5mm styrene sheet to the three flat sides of the modified round side intakes

First the back
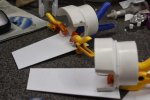

Picture%2520108.jpg


Then the bottom with a pre-shaped radius
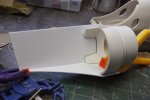

Picture%2520109.jpg


Then the top, preshaped piece, it's just a fraction larger than the bottom, here you can see it next to the main body mock up
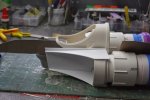

Picture%2520110.jpg


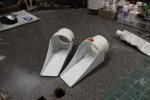
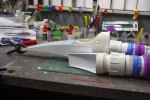
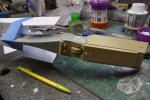
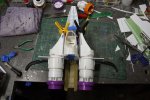
Now I have these sidepod intakes in position, I can more accurately position the ships hull which will become part of the underside 'Tea tray assembly' that you see on modern F1 cars
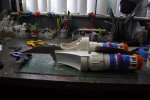

Picture%2520112.jpg


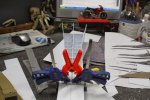
This top view (with thinners bottle for scale, shows the overall length of the ship, about 22". To keep it relative to a modern car, I think it's going to be 1/12th scale.
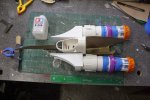

Picture%2520113.jpg


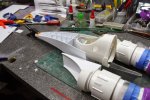
I then started cleaning up the outside of the intakes, blending everything together,
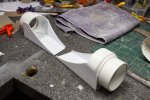


Picture%2520115.jpg


Picture%2520117.jpg


Next i will fill these corners to make a smoother transition for the insides
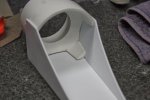

Picture%2520116.jpg


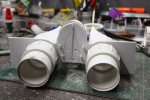
Here's another angle of the whole engine assembly
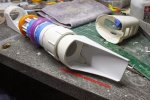
Picture%2520118.jpg


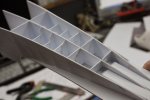
I may also add some internal details on the intakes, I'm not sure yet, I will see what it all looks like after the corners are blended in.


That's all for now, stay tuned my friends

Take care

Gaggles McGee
 
Helloooooooo Good evening and Welcome,

Very nice to see the usual suspects along for the ride,
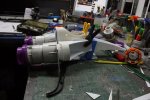
Quick one tonight,

So, hold on tight for a fast ride,

The louder you scream the faster we go ;D


Filled a few ugly bits on the intakes

Picture%2520119.jpg


Traced my nose pattern,


Picture%2520120.jpg


Expanded it a bit


Picture%2520121.jpg


Cut out three


Picture%2520122.jpg


Cut out braces

Picture%2520124.jpg


Glued them on one of the nose profiles following the under side radius

Picture%2520126.jpg


Glued a piece of 1.5mm styrene on to the underside


Picture%2520128.jpg


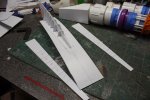
After it had dryed I removed the tape and cut two tapered spacers


Picture%2520129.jpg


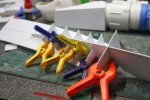
Cut and glued these on both sides


Picture%2520130.jpg


Picture%2520131.jpg


Attached two other two sides


Picture%2520132.jpg


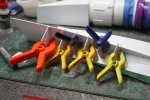
Fixed the nose section with two pieces of rectangle, not sure why but it seemed like a good idea


Picture%2520134.jpg

All the clamps removed


Picture%2520137.jpg


Very rough sanded


Picture%2520140.jpg


Picture%2520143.jpg

A quick "Offer up" as my Grandfather would of said,


Picture%2520144.jpg


Picture%2520145.jpg


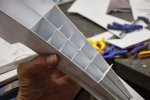
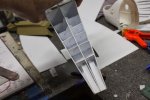
Got out the jig saw support and roughly cut out the internal supports


Picture%2520146.jpg

Very rough assembly, back


Picture%2520147.jpg

Front

Picture%2520148.jpg

Well thats about the size of it,

More bench action on Sunday

Stay tuned friends

Gag
 
My Herdster bretheren,

Thank you so much for stopping by my friends, it really does mean a lot that you stop by to say hi, thanks

Making very slow progress but I know that this section defines the main profile, so it has to be right,

Any hooooooooooozzzzzz your father, Luke ::)

We have pic's people,

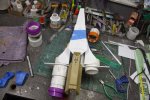
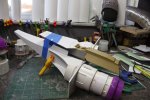
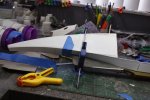
Glued the tank hull to the ship hull,

Picture%2520151.jpg

Fixed it to me snout just to see,


Picture%2520149.jpg


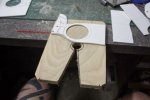
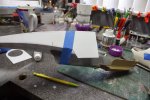
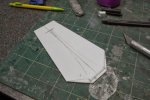
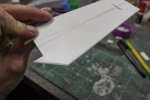
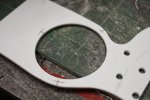
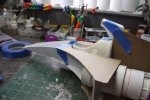
Cut out the 'Tea tray",


Picture%2520152.jpg


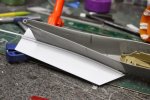
Some Chamfer action,

Picture%2520153.jpg


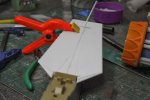
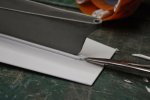
Fitted with rod to hide the join and aid filling the radius

Picture%2520155.jpg


Bottom, oh err misses........ ;D


Picture%2520157.jpg

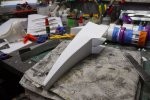
Pinch and glue the nose, to be filled and sanded later


Picture%2520159.jpg


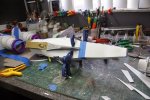
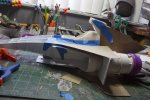
Your basic dry fit to test stuff

Picture%2520160.jpg


Picture%2520161.jpg

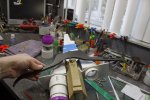
A coat hanger for the bottom profile, ...............maybe.


Picture%2520163.jpg


Marked,

Picture%2520165.jpg


Drilled,


Picture%2520166.jpg


Screwed,


Picture%2520167.jpg


Picture%2520169.jpg


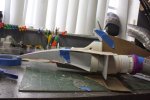
Another dry fit, back,


Picture%2520170.jpg


Plan


Picture%2520171.jpg


Side


Picture%2520172.jpg


Alot of jiggery-pocker at the moment, still trying to fix the proportions, from seeing these pictures it's too thick, just like me. ;D


Adjustments required,

Next time,

Take care


Gag
 
Afternoon everyone,

Thanks for stopping by,


Got to get ready to go out to dinner so it's gunna be fast,

Still thought it looked thick after this mock up,


Picture%2520179.jpg


Decided that the underside shape needed to be finalized and thought the tea tray was to big, so i removed it.
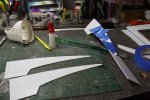
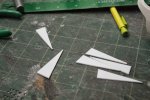
Maked and cut some sheet


Picture%2520181.jpg


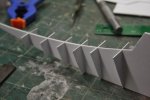
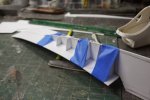
First glued the parts on the tank hull


Picture%2520184.jpg


Cleaned the nose sides then glued the front flat to the nose


Picture%2520189.jpg


Then the sides


Picture%2520194.jpg


And along the hull line


Picture%2520195.jpg


New profile without tea tray


Picture%2520196.jpg


Picture%2520197.jpg


Cleaned up


Picture%2520199.jpg


Picture%2520203.jpg


Filled ready to be sanded


Picture%2520207.jpg


That's it for today

Take care

Gag
 
Wow, this new shape without the tray looks awesome - very streamlined!
It bringes the original artwork to live and captures the slick speed.
As usual:
Hats of to a great built :)
 
eh up buddy,yeah i`m agreein with klaus the shape looks loads better without ya tea tray!i think it still look`s abit short in length with the height of it mym8..lookin sweet though..cheers peza ;D
 

Latest posts

Back
Top