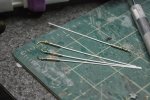
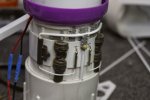
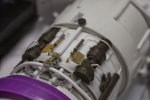
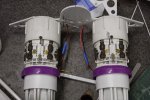
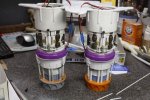
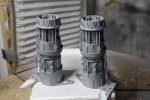
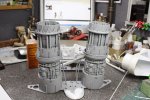
The Nylon Gag MK.2 F1 Magneto Skimmer

Evenin Everypeeps,

Thanks for stopping by guys, good to have you here,

Thanks for the comments and the positive vibes, man. 8)


Got some more hours in this week

PIX


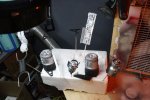
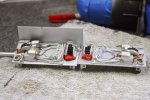
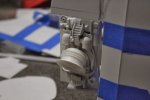
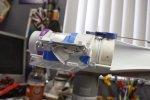
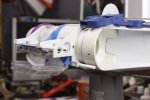
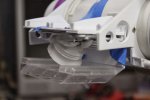
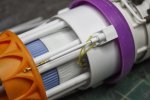
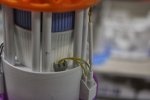
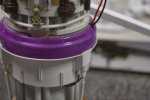
Started positioning the directional underside magneto power neon pulse assembly


Picture%2520419.jpg


Picture%2520422.jpg


Picture%2520424.jpg


Picture%2520423.jpg


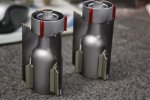
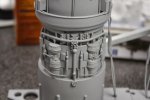
Started on some engine details


Picture%2520430.jpg


Picture%2520432.jpg


Picture%2520436.jpg


Picture%2520437.jpg


Thats all for now

Short one tonight


Cheerio


Gag
 
Sssss-me again,

Quick vid

Engine details

Then added me actuator thingies


Picture%2520441.jpg


Wires


Picture%2520442.jpg


Added some trim?


Picture%2520444.jpg


Ready for.........?


Picture%2520445.jpg


Mmmmmmmmm Primer


Picture%2520448.jpg


Picture%2520449.jpg


Picture%2520450.jpg


Looks minimal but still F1 technical.


Goodnight people

Gag Out
 
Firstly,

awesome. simply awesome. im following this to the last drop of paint.

and i always find it amazing how primer will pull a hodge podge of pieces together. when its not painted it looks like you just glued random parts all willy nilly. then primer...and BOOOM. it looks coherent. love it.

keep it up.
 
Love it in primer
Man , I'm starting to look at things around the house and in stores
Completely differently
Very cool
 
Afternoon Every Peeps,

Thank you all so very much for your comments, it's great having you all along for the ride, much appreciated.

Things have been difficult the last couple of days, I seem to of lost some momentum.

Nothing seems to want to fit together.


1. One of the BEST ;D things about scratch building is that you don't have instructions to follow.


2. One of the WORST :'( things about scratch building is that you don't have instructions to follow.


The classic double edged lightsaber thingy.....


I'm experiencing number 2 at the moment, big time.


This usually happens when painting is involved, not my favourite thing to do.

But anyhoo, here goes.............


Glued in the reflectors from some old LED lamps
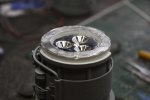


Picture%2520453.jpg


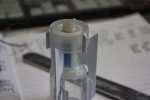
Assembled engine innards


Picture%2520454.jpg


Splashed around some more primer, Mmmmmmmmmmmmmm primer
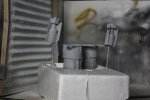


Picture%2520456.jpg


Colin drawn


Picture%2520457.jpg


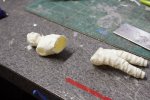
Colin beheaded


Picture%2520459.jpg


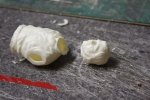
Started to re-build Colin for much less than six million dollars with everybodys friend, especially Colins, Apoxie sculpt.
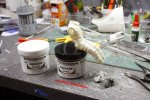

Picture%2520462.jpg


Also cut a small wedge and bent his legs back, filled and sculpted, my first ever attempt
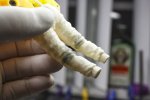

Picture%2520464.jpg


Filled and sculpted the middle section.
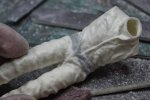

Picture%2520470.jpg


A quick splash of primer to show me what's occuring



Picture%2520473.jpg


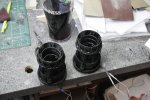
Hit the engines and all additional components with matt black

Picture%2520465.jpg


Picture%2520467.jpg


Chrome silver


Picture%2520478.jpg


Painted innards


Picture%2520485.jpg


Picture%2520484.jpg


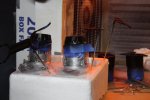
Masked and gloss blacked ready for other stuff to happen


Picture%2520486.jpg


Picture%2520487.jpg


Thats about the size of it so far this week.

Take care

Gag

[attachment deleted by admin]
 
Man-o-man... I just read thru this entire thread! Color me IMPRESSED! GOBSMACKED EVEN!!!
You are a genius at re-purposing found objects from around the house.
Really inspirational. Should be required viewing at Scratch-builder's University.
 
eh up buddy,wow tayta you`ve just blown me away!!top marks ace...cheers peza ;D
 
Doin' great Mr.
Love when stuff goes thru primer!
I don't see any problems with your painting,.. Chill
Cheers
 

Latest posts

Back
Top