Bronco Buffalo MPCV " BoneCrusher"

You are moving along quite fast on this build :eek: if you need any reference on this PM me ! I can hook you up! I plan on posting some of my buffalo work soon :) any issues with the Alclad being a hot lacquer crazing any of the clear windows?
 
There was a slight, and I mean SLIGHT, bit of fogging from the Alclad being applied. I went with ultra-fine misting of the product so it dried almost on contact with the windows, therefore limiting the issue. Plus I only sprayed the interior surface so I could maintain the solid and pristine glasslike surface for the exterior to be seen.....since the perspective on the insides of the windows is limited to a tiny tiny peephole, the problem would be far less pronounced than trying to do a large curved surface such as a canopy that can be hinged open for display.
 
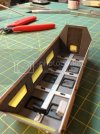
Been so lazy this week since I just wanna sleep when I get home. Spent a bit of time at the bench and finished up the interior aside from the pigment dust.
image-768.jpg
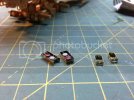
Inside of the hatches with PE handles
image-245.jpg
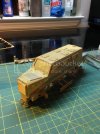
After it was all done, I glued the cabin up and she's ready for the heavy PE work....still debating on CA or solder to do the slat armor.

Have a good weekend everyone! Hope to have some more updates by Monday!
 
Looks great. I myself would love to see you solder since I want to learn to do it ;)
 
if you never soldered i would prob go the CA option this time
 
i will be interested in how you do the slat Armour ive got some on my styker and i will be in the same boat...loving you build so far
 
TBadger, the interior is turning out phenomenally. Definitely can tell your are putting the effort in!
 
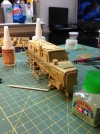
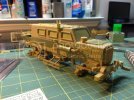
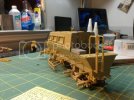
Managed to add some more PE and set up the side catwalk area....going to have to figure out if I even use it with the slat armor though :(
image-2021.jpg
image-1024.jpg

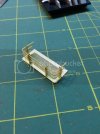
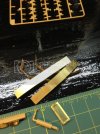
I'm putting it up for a vote if I should use the PE or Styrene mudflaps.....one was just a little off in the rear but the fronts are fine....salvage the one or not??
image-1388.jpg
 
Put a hurting on the instructions today and am on the last two steps.....just have to plan pieces to mount or wait until after paint to attach them. I'm picking up some core-less solder and liquid flux on my way home tomorrow. Luckily I have a butane soldering tool so I plan on setting up everything in the jig and soldering all the slats in rapid succession.
image-854.jpg
image-751.jpg
image-1918.jpg
Reworked the mudguards and they are easily salvaged aside from a few soft bends I couldn't totally flatten out
image-1625.jpg
If my week turns out well, I plan to be at the paint phase by Friday night!
 

Latest posts

Back
Top