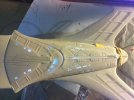
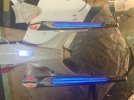
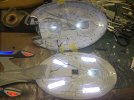
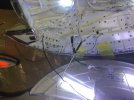
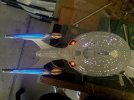
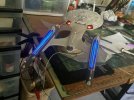
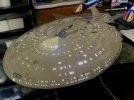
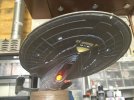
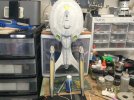
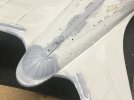
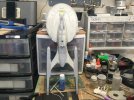
Greetings fellow modelers and model fans. I hope everyone is well during these trying times...
Back on May 15, I posted a photo of an assembled nacelle showing how it looked lit up. I had wanted to show some in progress photos of the inside of the nacelle showing how I wired the LEDs and created diffusers to give the warp engines a nice even glow. Unfortunately, I was not able to transfer the photos on my camera at that time due to a new company policy that blocked all employees from using thumb drives or loading images off cameras using my company provided laptop's USB port. I could have done it over wi-fi but my camera doesn't have that capability so there they sat locked inside my Canon EOS Rebel t1i until I could either get a new camera with wi-fi or get my own personal laptop.
Since then, I have been able to post images using photos taken on my iPad which I discovered has a very good camera. Then I, along with most of my department, got laid off from our jobs at AT&T. Being almost 63 and vested in my company pension plan I decided to take the severance payment and retire effective September 8, 2020 on my last day of employment.
Anyway, this means I will be losing my work laptop so... I FINALLY GOT MY OWN PERSONAL LAPTOP!
It's got a 17.3" screen
and more importantly, it has a read/write DVD/CD ROM drive; not easy to find in an off-the-shelf computer at COSTCO.
One of the first things I did was load it up with the Canon EOS utility software using the software CD That came with the camera. Then I plugged the camera and downloaded the images. So without further delay, here are the photos showing how the nacelle lighting effect was accomplished...
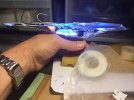
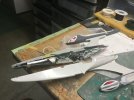
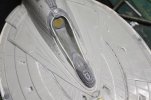
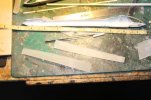
Milk jug plastic is trimmed to fit along the opening carved out on the top of the nacelles for the blue glowing grills. The diffusers will help eliminate LED hot spots from the blue LED strips underneath:
[/url
[url=https://flic.kr/p/2jDMfAR]USS Enterprise E - Nemesis-WIP- Nacelle Diffusers by
Steve J, on Flickr
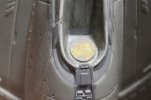
This foam packing sheet will further diffuse the LED glow on the top of the nacelles:
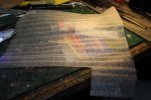
USS Enterprise E - Nemesis-WIP- Foam Packing Sheet by
Steve J, on Flickr
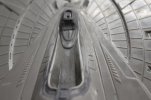
Here is a test with the LED strip lit up under the milk jug plastic panels but no folded layer of foam packing sheet in between:
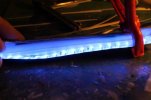
USS Enterprise E - Nemesis-WIP- Diffusion Test 1 by
Steve J, on Flickr
With the foam packing material in between the milk jug panels and the LED strip virtually all hot spots have been eliminated:
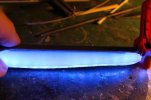
USS Enterprise E - Nemesis-WIP- Diffusers with Foam Packing Sheet Test 2 by
Steve J, on Flickr
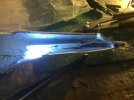
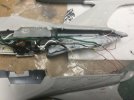
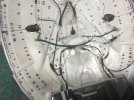
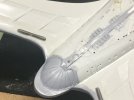
Two channels were carved out along the trailing edge of each nacelle, One groove will handle the two wires from the flashers at the aft end of the nacelles, the other will handle the wires connecting to the blue LED strip and the orange-red LEDs in the bussard dome:
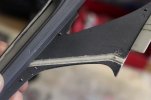
USS Enterprise E - Nemesis-WIP- Carving Out Wiring Channels by
Steve J, on Flickr
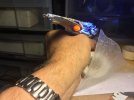
Three flat topped amber LEDs stacked and staggered as shown in cross sectional diagrams of the E bussards online. The clear plastic bussard inserts have been brushed with Tamiya transparent red acrylic on their inside surfaces:
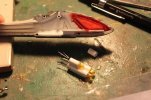
USS Enterprise E - Nemesis-WIP- Bussard LED Assembly by
Steve J, on Flickr
Bussard LED assembly light test. The three LEDs were connected in series using two 150 ohm resistors soldered together as I did not have a 330 ohm resistor:
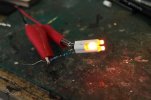
USS Enterprise E - Nemesis-WIP- by
Steve J, on Flickr
A single cool white LED lights the upper and lower flashers using short lengths of bent fiber optic strand:
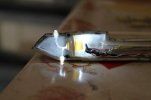
USS Enterprise E - Nemesis-WIP- Aft Nacelle Flashers by
Steve J, on Flickr
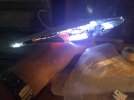
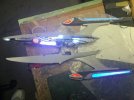
The LED strip and bussards shown wired together and lighting up just fine. I'll add the foam diffuser sheet in between the strip and the diffuser panels before sealing the nacelles up:
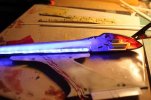
USS Enterprise E - Nemesis-WIP- Nacelle Light Check by
Steve J, on Flickr
Just one more thing to add to the bussard before gluing the nacelle halves together:
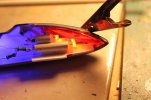
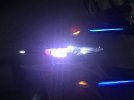
USS Enterprise E - Nemesis-WIP- Bussard Detail Light Test by
Steve J, on Flickr
To diffuse the bussards I packed torn cotton ball material in between the LEDs and the nose of each nacell:
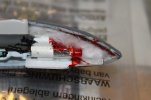
USS Enterprise E - Nemesis-WIP- Cotton Added by
Steve J, on Flickr
The upper strut half will be glued to the lower strut half once the styrene cement gluing the nacelle together dries:
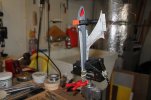
USS Enterprise E - Nemesis-WIP- Nacelle Glued Together by
Steve J, on Flickr
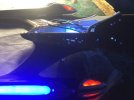
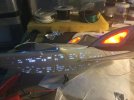
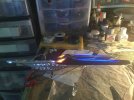
The assembled warp nacelle all lit up:
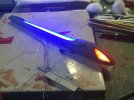
USS Enterprise E - Nemesis-WIP-Nacelle Lit by
Steve J, on Flickr
Thanks to all who have continued following this build. I hope you have enjoyed this journey back in time. We now take you back to your regularly scheduled programming. I'll have some new pics shortly showing the E in her current state. Stay safe everyone!

