trekriffic
Well-Known Member
- Joined
- Jan 6, 2012
- Messages
- 1,052
That looks pretty close Urumomo..,
Carrying on...
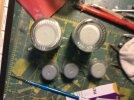
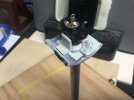
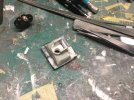
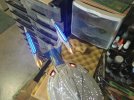
Components for powering the display base for lighting:
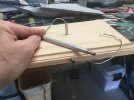
USS Enterprise E - Nemesis-WIP- Base Wiring Up by Steve J, on Flickr
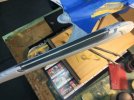
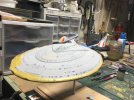
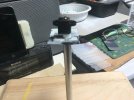
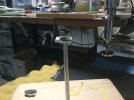
After drilling a hole thru the wooden base, wires from the aluminum display tube are fed into a slot routed out in the underside of the base for soldering to the power jack:
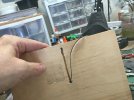
USS Enterprise E - Nemesis-WIP- Display Base by Steve J, on Flickr
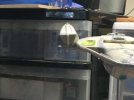
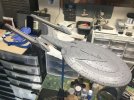
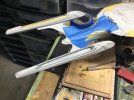
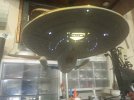
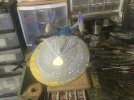
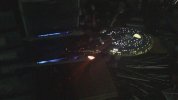
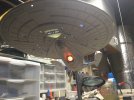
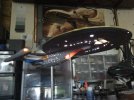
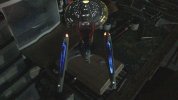
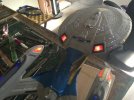
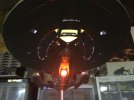
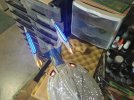
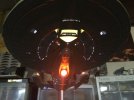
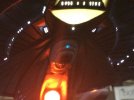
12V DC power is plugged in and the ship lights up as it should. She's fully masked. One more going over with the alcohol wipe and she gets primed:
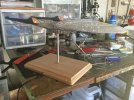
USS Enterprise E - Nemesis-WIP- Light Check with Base by Steve J, on Flickr
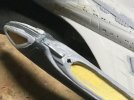
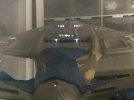
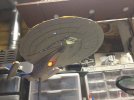
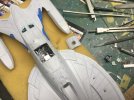
Before final alcohol cleanup I have her a close inspection with the magnifier headset. I was glad I did as I found a few small spots that needed carving or more cleanup, mostly dried putty in the margins. Stuff a digItal camera would notice:
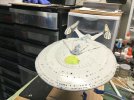
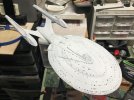
USS Enterprise E - Nemesis-WIP- Pointing Her Up by Steve J, on Flickr
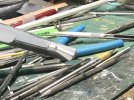
Got these at Michaels craft store years ago and forgot about them. Found them and they worked great! I could not have done some of the smaller parts and detail work without them:
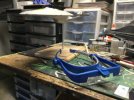
USS Enterprise E - Nemesis-WIP- Magnifying Headset by Steve J, on Flickr
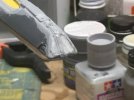
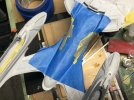
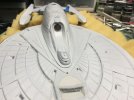
Parts with detail I don't want getting buried under the primer coat are brushed with liquid mask.
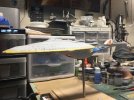
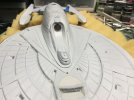
Looking at all the crap still on the surface before final cleanup... it's truly amazing how many sins a good coat of primer will cover up:
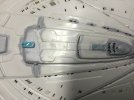
USS Enterprise E - Nemesis-WIP- Liquid Masking by Steve J, on Flickr
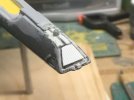
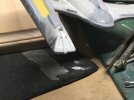
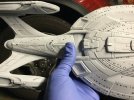
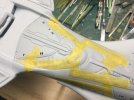
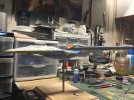
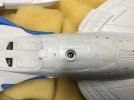
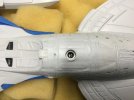
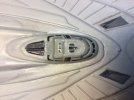
I don't want the primer coat to cover up all the detailing on the stern spine Photorp launcher so I gave it a coat of liquid mask. It will probably be brushed with the final color at the end just before decaling begins:
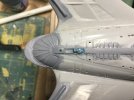
USS Enterprise E - Nemesis-WIP- Liquid Masking by Steve J, on Flickr
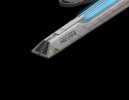
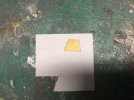
Next... reworking the aft ends of the nacelles. Looks like I spoke too soon about being finished with correcting hull details and inaccuracies.
Carrying on...
Components for powering the display base for lighting:

USS Enterprise E - Nemesis-WIP- Base Wiring Up by Steve J, on Flickr
After drilling a hole thru the wooden base, wires from the aluminum display tube are fed into a slot routed out in the underside of the base for soldering to the power jack:

USS Enterprise E - Nemesis-WIP- Display Base by Steve J, on Flickr
12V DC power is plugged in and the ship lights up as it should. She's fully masked. One more going over with the alcohol wipe and she gets primed:

USS Enterprise E - Nemesis-WIP- Light Check with Base by Steve J, on Flickr
Before final alcohol cleanup I have her a close inspection with the magnifier headset. I was glad I did as I found a few small spots that needed carving or more cleanup, mostly dried putty in the margins. Stuff a digItal camera would notice:

USS Enterprise E - Nemesis-WIP- Pointing Her Up by Steve J, on Flickr
Got these at Michaels craft store years ago and forgot about them. Found them and they worked great! I could not have done some of the smaller parts and detail work without them:

USS Enterprise E - Nemesis-WIP- Magnifying Headset by Steve J, on Flickr
Parts with detail I don't want getting buried under the primer coat are brushed with liquid mask.
Looking at all the crap still on the surface before final cleanup... it's truly amazing how many sins a good coat of primer will cover up:

USS Enterprise E - Nemesis-WIP- Liquid Masking by Steve J, on Flickr
I don't want the primer coat to cover up all the detailing on the stern spine Photorp launcher so I gave it a coat of liquid mask. It will probably be brushed with the final color at the end just before decaling begins:

USS Enterprise E - Nemesis-WIP- Liquid Masking by Steve J, on Flickr
Next... reworking the aft ends of the nacelles. Looks like I spoke too soon about being finished with correcting hull details and inaccuracies.

