Sorry for the lack of updates.
Work on this has been progressing a pace, but I haven't been updating like I normally do.
Now, onto the actual work that's been done.
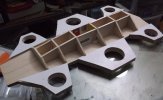
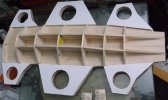
Using balsa, I built up a deck for mounting the engines to
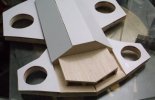
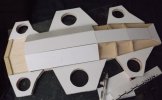
Then, I went in with 1mm styrene and made the filler panels for the ship skin in that area
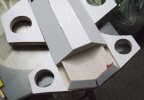
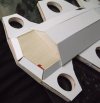
Again using 1mm styrene sheet, I finished skinning the bottom portion of the hull at the front of the ship
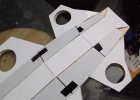
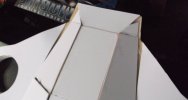
Seeing that I was going to need to start seam-filling fairly soon, I decided to go ahead and finish skinning the ship with 1mm styrene along the outside edges of the hull and fan mounts.
The electrical tape seen here was used for clamping the styrene to the sides
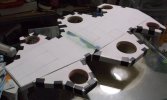
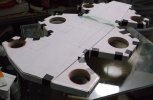
With the skinning complete, it was time to start seam filling.
Decided for the first time to use Bondo spot putty as my seam filler, and started with the top perimeter seams
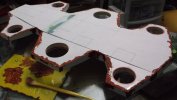
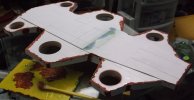
When it came to working the bottom of the ship, the seams were nowhere near as tight.
So, the end result here was a ship that looks to be made mostly of Bondo at the front end of things
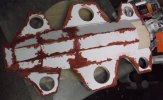
After sanding, though, it looks much better
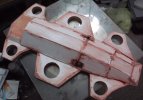
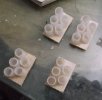
On the main engines, I decided to lengthen the "pods" with a balsa frame
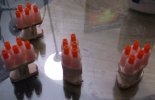
These were then skinned with 1mm styrene. Though the electrical tape banding was originally intended as a clamping mthod, I decided instead to keep the twin bands for a little bit of added detail.
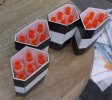
I've also decided, after consulting with my son and taking another look, that I will only be using 3 of the four pods due to space considerations
Youtube link:
http://www.youtube.com/watch?v=PaaSlLWx44s
